Budget Coffee Bar Station DIY: $48
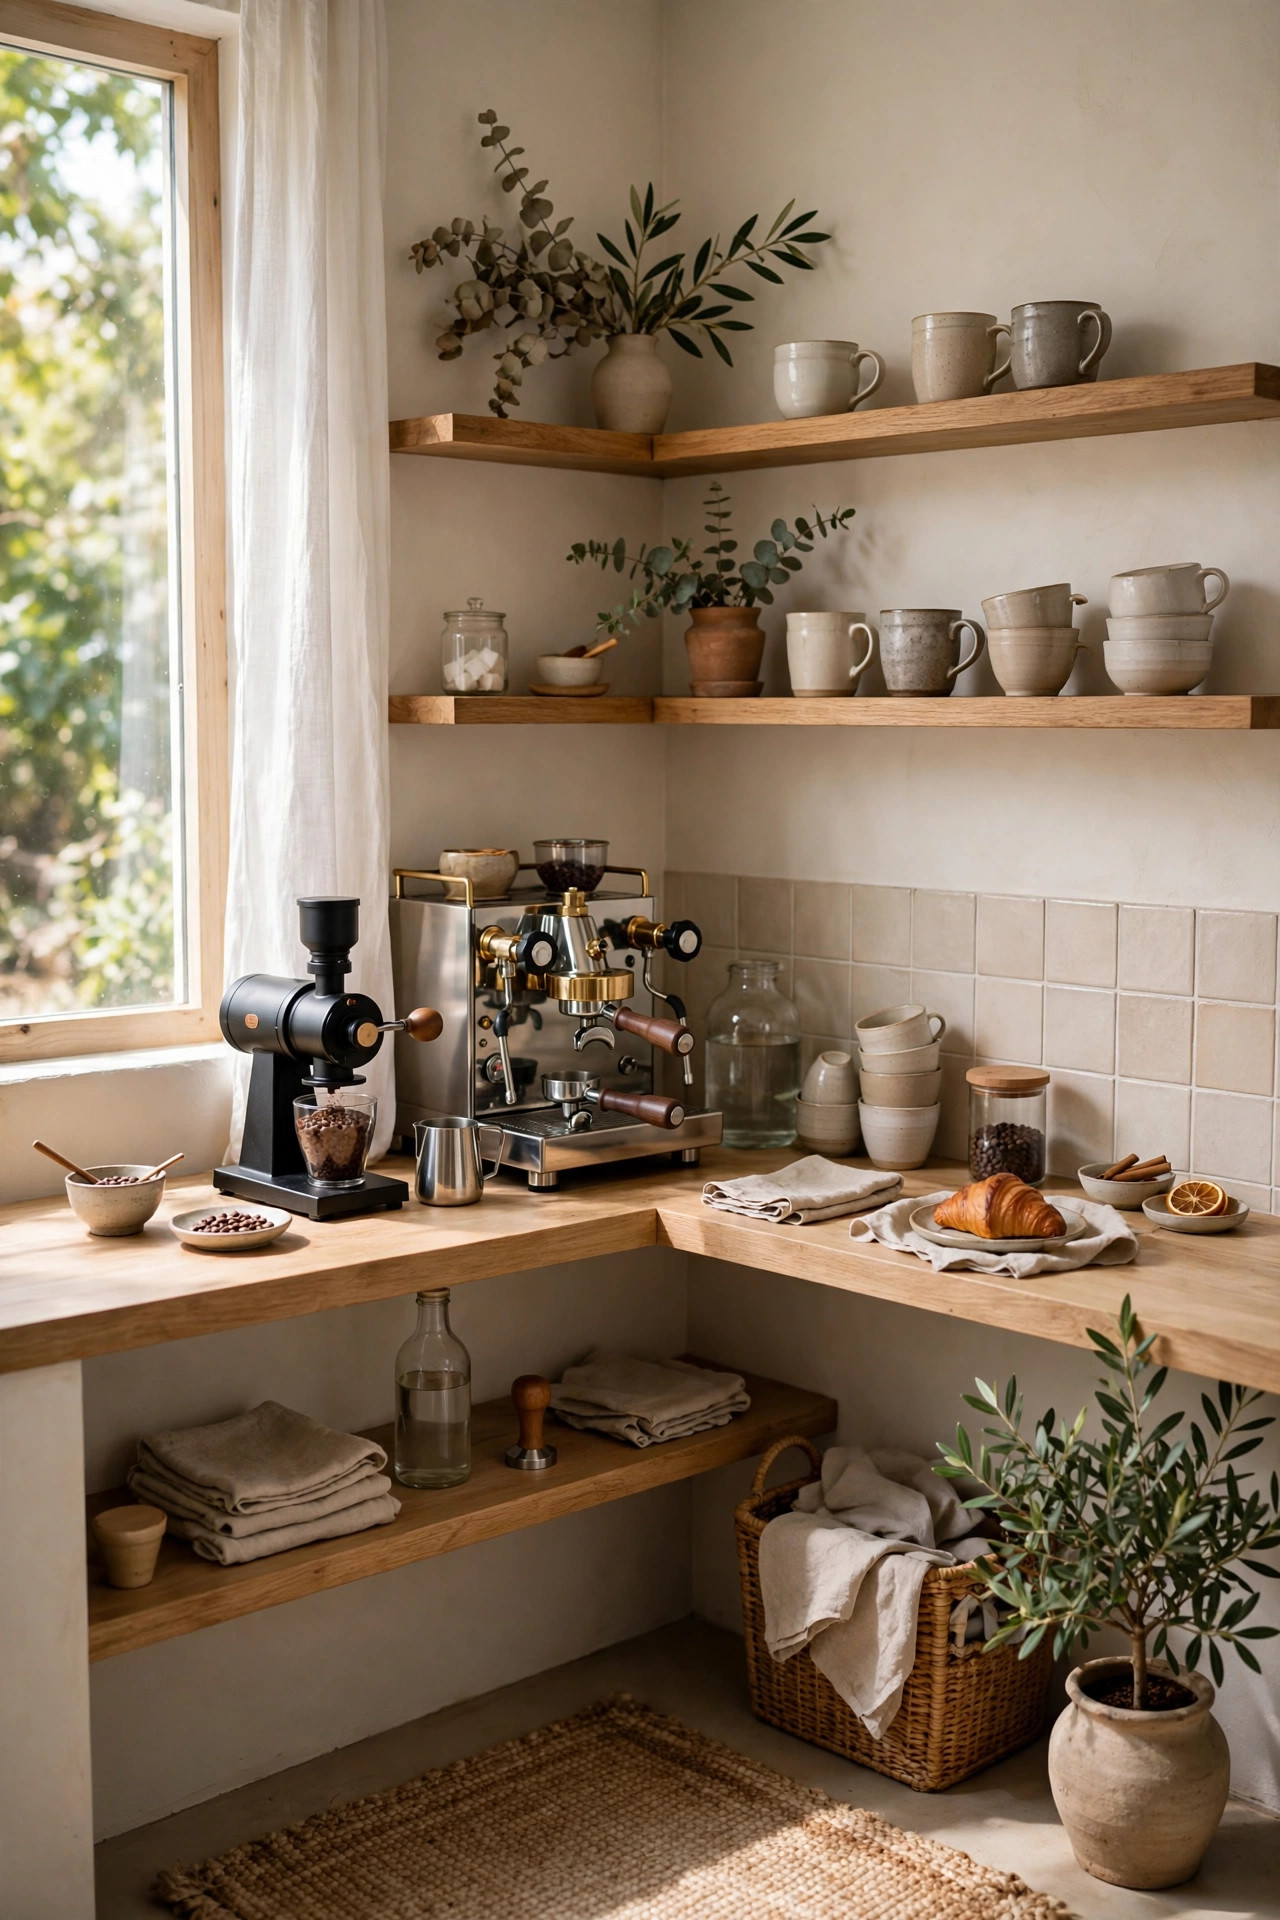
A home coffee bar is one of those upgrades that feels like a luxury but is really just organization wearing a nice outfit. Retail coffee bar carts start around $150 and climb past $400, which is absurd when you realize the whole concept is a small table with your coffee stuff on it. The secret isn't the furniture — it's giving everything a zone so the counter stops looking like a yard sale every morning.
This budget coffee bar station cost $48 total: a thrifted side table refinished in a weekend, screw-in mug hooks, a countertop basket to corral the clutter, and chalkboard labels. It took one Saturday from thrift run to first pour. The kitchen corner that used to collect mail and mystery keys is now the most-used three square feet in the house.
Materials You'll Need
- Thrifted side table or small cart — $25
- Chalkboard paint or wood stain, quart — $6
- Mug hooks, pack of 8 — $5
- Countertop basket or organizer — $8
- Small chalkboard sign or labels — $4
Step-by-Step Instructions
- Hunt the thrift store for the right table. You're looking for a small side table, nightstand, or rolling cart — roughly 24 inches wide, sturdy, and under $30. Ignore the finish; you're buying bones. Check that it's wobble-free, that the legs are solid, and that the top is flat enough for a coffee maker. Rolling carts are gold if you find one — the wheels make cleaning underneath effortless.
- Clean and prep the surface. Wipe the whole thing down with a degreasing cleaner (kitchen-adjacent furniture is always grimier than it looks), then lightly sand with 120-grit to give the paint something to grip. You don't need to strip it to bare wood — just scuff the shine off. Fill any dents with wood filler, let it dry, and sand flush.
- Paint or stain the table. Two thin coats of paint beat one thick coat every time — thick coats drip and take forever to dry. A matte black or deep green reads modern and hides coffee stains; a warm wood stain reads farmhouse. Let each coat dry fully (check the can, but usually 2–4 hours) and lightly sand between coats for a smooth finish.
- Map out your coffee zones. Before anything goes on the table, decide where things live: the brew zone (machine, kettle), the serve zone (mugs, spoons), and the store zone (beans, filters, sugar). Zones are what separate a coffee bar from a cluttered table. Keep daily-use items at arm height and backups underneath or in the basket.
- Install the mug hooks. Screw-in cup hooks under a shelf or along the table's side apron get mugs off the surface and turn them into decor — eight hooks cost $5 and hold your whole rotation. Pre-drill tiny pilot holes so the wood doesn't split, twist the hooks in by hand, and hang your prettiest mugs where people can see them.
- Corral the clutter with baskets. Loose sugar packets, filters, and pods are what make coffee stations look messy. One $8 basket or tray holds all of it and gives the whole setup a boundary. If your table has a lower shelf, that's where the basket lives; if not, the basket sits on top and acts as the "store zone."
- Label and style the final look. A small chalkboard sign with the "menu" (espresso, pour-over, decaf) is the $4 detail that makes guests smile. Add one non-coffee object — a small plant, a framed print, a candle — so it reads as a styled corner and not a break room. Step back and remove one thing; every coffee bar looks better with one less item.
Budget Breakdown
| Item | Cost |
|---|---|
| Thrifted side table or cart | $25 |
| Chalkboard paint or stain, quart | $6 |
| Mug hooks, pack of 8 | $5 |
| Countertop basket or organizer | $8 |
| Chalkboard sign or labels | $4 |
| Total | $48 |
Before & After
Before: the dead corner of the kitchen — a wobbly plant stand, a pile of unopened mail, and the coffee maker squeezed between the toaster and a fruit bowl. Every morning started with moving three things to make coffee.
After: a deep-green refinished side table with the coffee maker on top, eight mugs hanging on hooks underneath the overhang, and a basket holding beans, filters, and sugar. A little chalkboard reads "but first, coffee." The morning routine now takes thirty seconds and zero shuffling.
The surprise benefit: the kitchen counter is suddenly clear. Once the coffee stuff had its own home, the toaster and fruit bowl stopped migrating, and the whole kitchen looks bigger. Visitors head straight for the coffee corner like it's always been there.
Tips for Your Own Coffee Bar
- Keep it near an outlet. Sounds obvious, but measure your cord before you fall in love with a corner. An extension cord across the kitchen floor ruins the whole vibe — and it's a tripping hazard.
- Two thin coats, always. The number-one DIY paint mistake is laying it on thick. Thin coats dry faster, drip less, and look smoother. Sand lightly between coats and you'll get a factory finish.
- Hang the mugs, don't stack them. Stacked mugs chip and take up surface area. Hooks turn your mug collection into wall art and free the entire tabletop for brewing.
- One basket is the whole system. If everything small lives in one tray or basket, cleanup is lifting one object instead of moving twelve. When in doubt, contain it.
- Water access matters more than you'd think. Refilling the reservoir and dumping the drip tray gets old fast if the sink is across the kitchen. The ideal spot is within a few steps of water.
Frequently Asked Questions
- How much space does a coffee bar need?
- Surprisingly little — a 24-inch-wide table is enough for a machine, mugs on hooks, and one basket. That's about the footprint of a nightstand. If you can fit a side table, you can fit a coffee bar.
- Will the paint hold up to heat and spills?
- Yes, with the right prep. Scuff-sand before painting, use a paint rated for furniture (or add a coat of water-based polyurethane on top), and wipe spills promptly. A silicone mat under the machine adds cheap insurance for $8.
- Can I do this in a rental?
- Absolutely — this is one of the most renter-friendly projects there is. The table is freestanding, the hooks screw into your own furniture (not the wall), and nothing about it touches the apartment. It moves with you.