Chalk Paint Furniture Guide for Beginners: $52
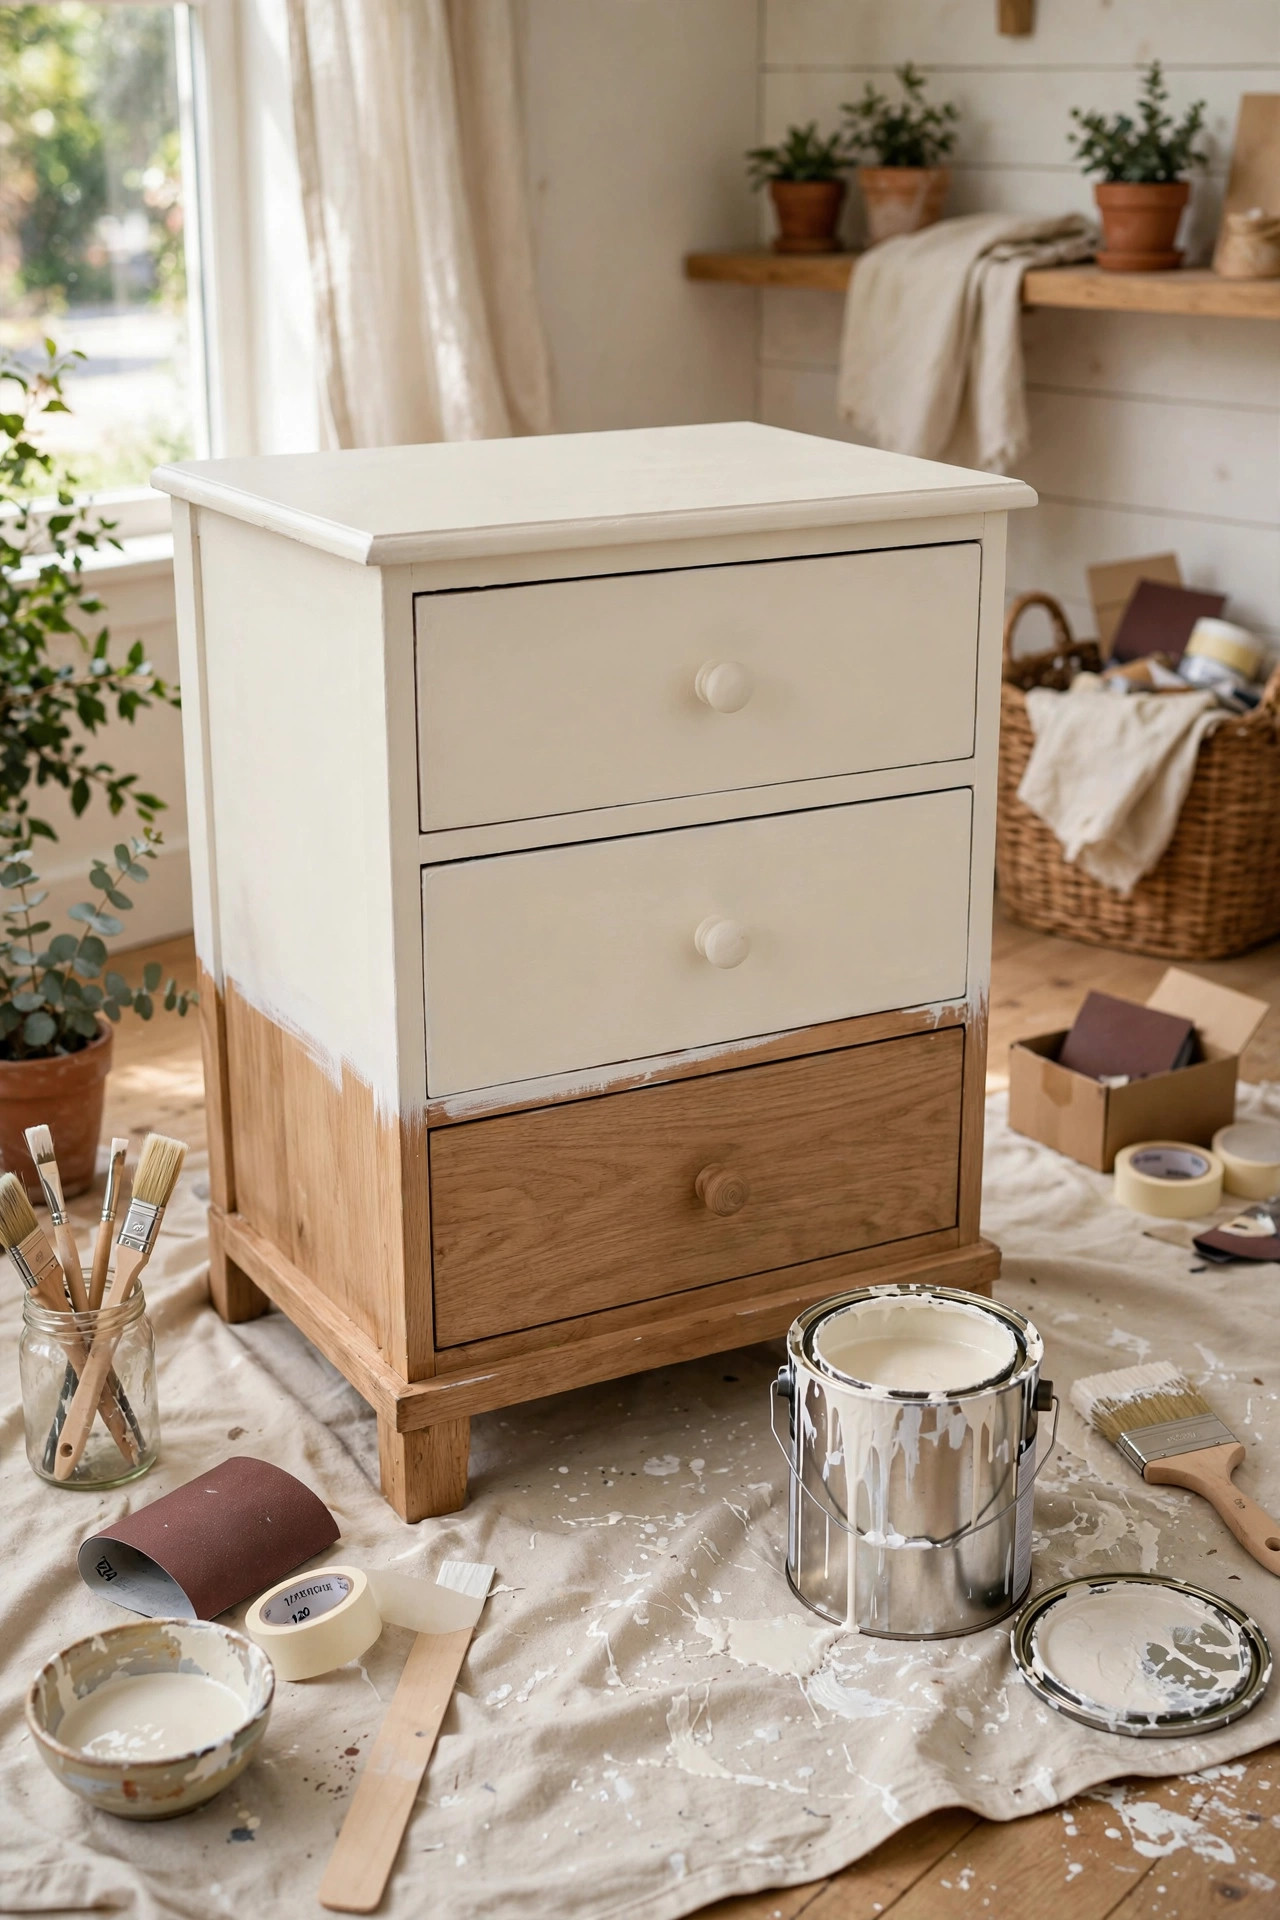
Chalk paint is the reason so many thrift-store dressers get second lives: it sticks to almost anything with no sanding and no primer, and it dries into a velvety matte finish that forgives brush strokes. For beginners, it removes the two hardest parts of furniture painting — the prep and the fear of visible strokes — which is why it's the best first paint to learn on.
This guide walks through a full small-dresser transformation for $52 total: one quart of chalk paint, a wax finish, and basic supplies. No sprayer, no sanding marathon, no primer. By the end you'll have a finished piece, a waxed surface that resists daily wear, and the confidence to tackle the next piece — because there will be a next piece.
Materials You'll Need
- Chalk paint, 1 quart — $22
- Clear furniture wax (or matte topcoat) — $12
- 2 quality paint brushes — $8
- Sandpaper (120 + 220 grit) + tack cloth — $5
- Painter's tape — $5
Step-by-Step Instructions
- Clean the piece thoroughly. This is the one prep step you can't skip. Wash the whole piece with warm water and a degreasing cleaner, then rinse and let it dry. Furniture holds years of grime, polish, and hand oils — paint sticks to clean wood, not to grease. For shiny varnished pieces, a quick scuff with 120-grit sandpaper gives extra insurance.
- Remove hardware and tape what stays. Take off knobs, pulls, and hinges, and tape off anything you don't want painted — glass, mirror edges, inside drawer runners. If you're keeping the old hardware, drop it in a bowl of hot water with a little vinegar; most of the grime comes right off.
- Apply the first coat thin. Chalk paint is thick, but thin coats are the rule — a loaded brush and long, even strokes. Don't go back over wet paint; chalk paint dries fast, and reworking it causes drag marks. The first coat will look streaky and thin. That's normal. Every first coat looks like that.
- Apply the second coat for full coverage. Wait the full drying time on the can (usually about an hour), then apply the second coat. This is the coat that evens everything out — full, opaque color with that soft matte finish chalk paint is known for. Most pieces need exactly two coats; dark wood under light paint may need a third.
- Distress lightly if you want the vintage look. Once dry, take 220-grit sandpaper and lightly rub edges, corners, and raised details where natural wear would happen. Go easy — you can always distress more, but you can't un-distress. Wipe the dust off with a tack cloth afterward.
- Seal with wax. Chalk paint must be sealed or it will mark, chip, and absorb stains. Work a thin layer of clear wax into the surface with a lint-free cloth or wax brush, using small circular motions. Thin layers are key — thick wax stays tacky. Let it haze for 15–20 minutes, then buff to a soft sheen.
- Let it cure before heavy use. Wax feels dry in a day, but full cure takes about 30 days — treat the piece gently for the first few weeks. Reattach the hardware, style the top, and enjoy the piece, but wait on stacking heavy boxes on it. Patience at the end protects all the work you just did.
Budget Breakdown
| Item | Cost |
|---|---|
| Chalk paint, 1 quart | $22 |
| Clear furniture wax (or matte topcoat) | $12 |
| 2 quality paint brushes | $8 |
| Sandpaper (120 + 220 grit) + tack cloth | $5 |
| Painter's tape | $5 |
| Total | $52 |
Before & After
Before: a small three-drawer dresser in scratched, orange-toned wood — the kind of piece that sits in every thrift store, priced at $20 because nobody can picture it finished.
After: the same dresser in creamy white chalk paint with lightly distressed edges and a waxed, buttery finish. It now reads as a cottage-style nightstand instead of a cast-off, and it sold — or stayed in my guest room — at a value many times the investment.
The wax step made the biggest difference in how "professional" the result felt. Unsealed chalk paint looks chalky in a bad way and marks if you breathe on it; waxed chalk paint feels smooth, cleans easily, and has that soft, expensive sheen. Never skip the seal.
Tips for Your Own Chalk Paint Project
- Thin coats beat thick coats, always. Thick chalk paint drips, shows brush lines, and chips later. Two thin coats look better and last longer than one thick one — and they use less paint.
- Work in the shade, not the sun. Chalk paint dries in minutes in direct sun, which makes brush strokes worse. Paint in a garage or under a porch cover, and keep a mister bottle handy for hot days.
- Stir, don't shake. Shaking introduces bubbles that end up on your furniture. Stir gently and let the can sit a minute before painting.
- Keep a wet edge. Work in sections and keep moving — going back over half-dry paint creates drag marks. If a spot looks thin, leave it for the second coat.
- Save leftover paint for touch-ups. Chalk-painted pieces get bumped eventually. A small jar of the leftover quart means five-minute touch-ups instead of visible chips.
Frequently Asked Questions
- Do I really not need to sand or prime first?
- For most pieces, correct — chalk paint's formula adheres to finished wood without primer. The exceptions: very glossy lacquer or laminate (scuff-sand these), and pieces with bleed-through from knots or dark stains (use a stain-blocking primer under the paint in those spots).
- Can I use chalk paint on kitchen cabinets?
- You can, but seal it properly — cabinets get wet hands, heat, and grease. Use two coats of a water-based polycrylic topcoat instead of wax for kitchen durability, and expect the paint to cost more per square foot than on a small dresser.
- Wax or polycrylic — which sealer should I choose?
- Wax gives the classic soft, vintage feel and is easy to apply, but it needs reapplication every few years on high-use pieces. Polycrylic is harder-wearing and better for tabletops, dressers that hold heavy items, and anything in a kitchen or bath. Both are beginner-friendly.