Contact Paper Countertops: $50 Kitchen Refresh
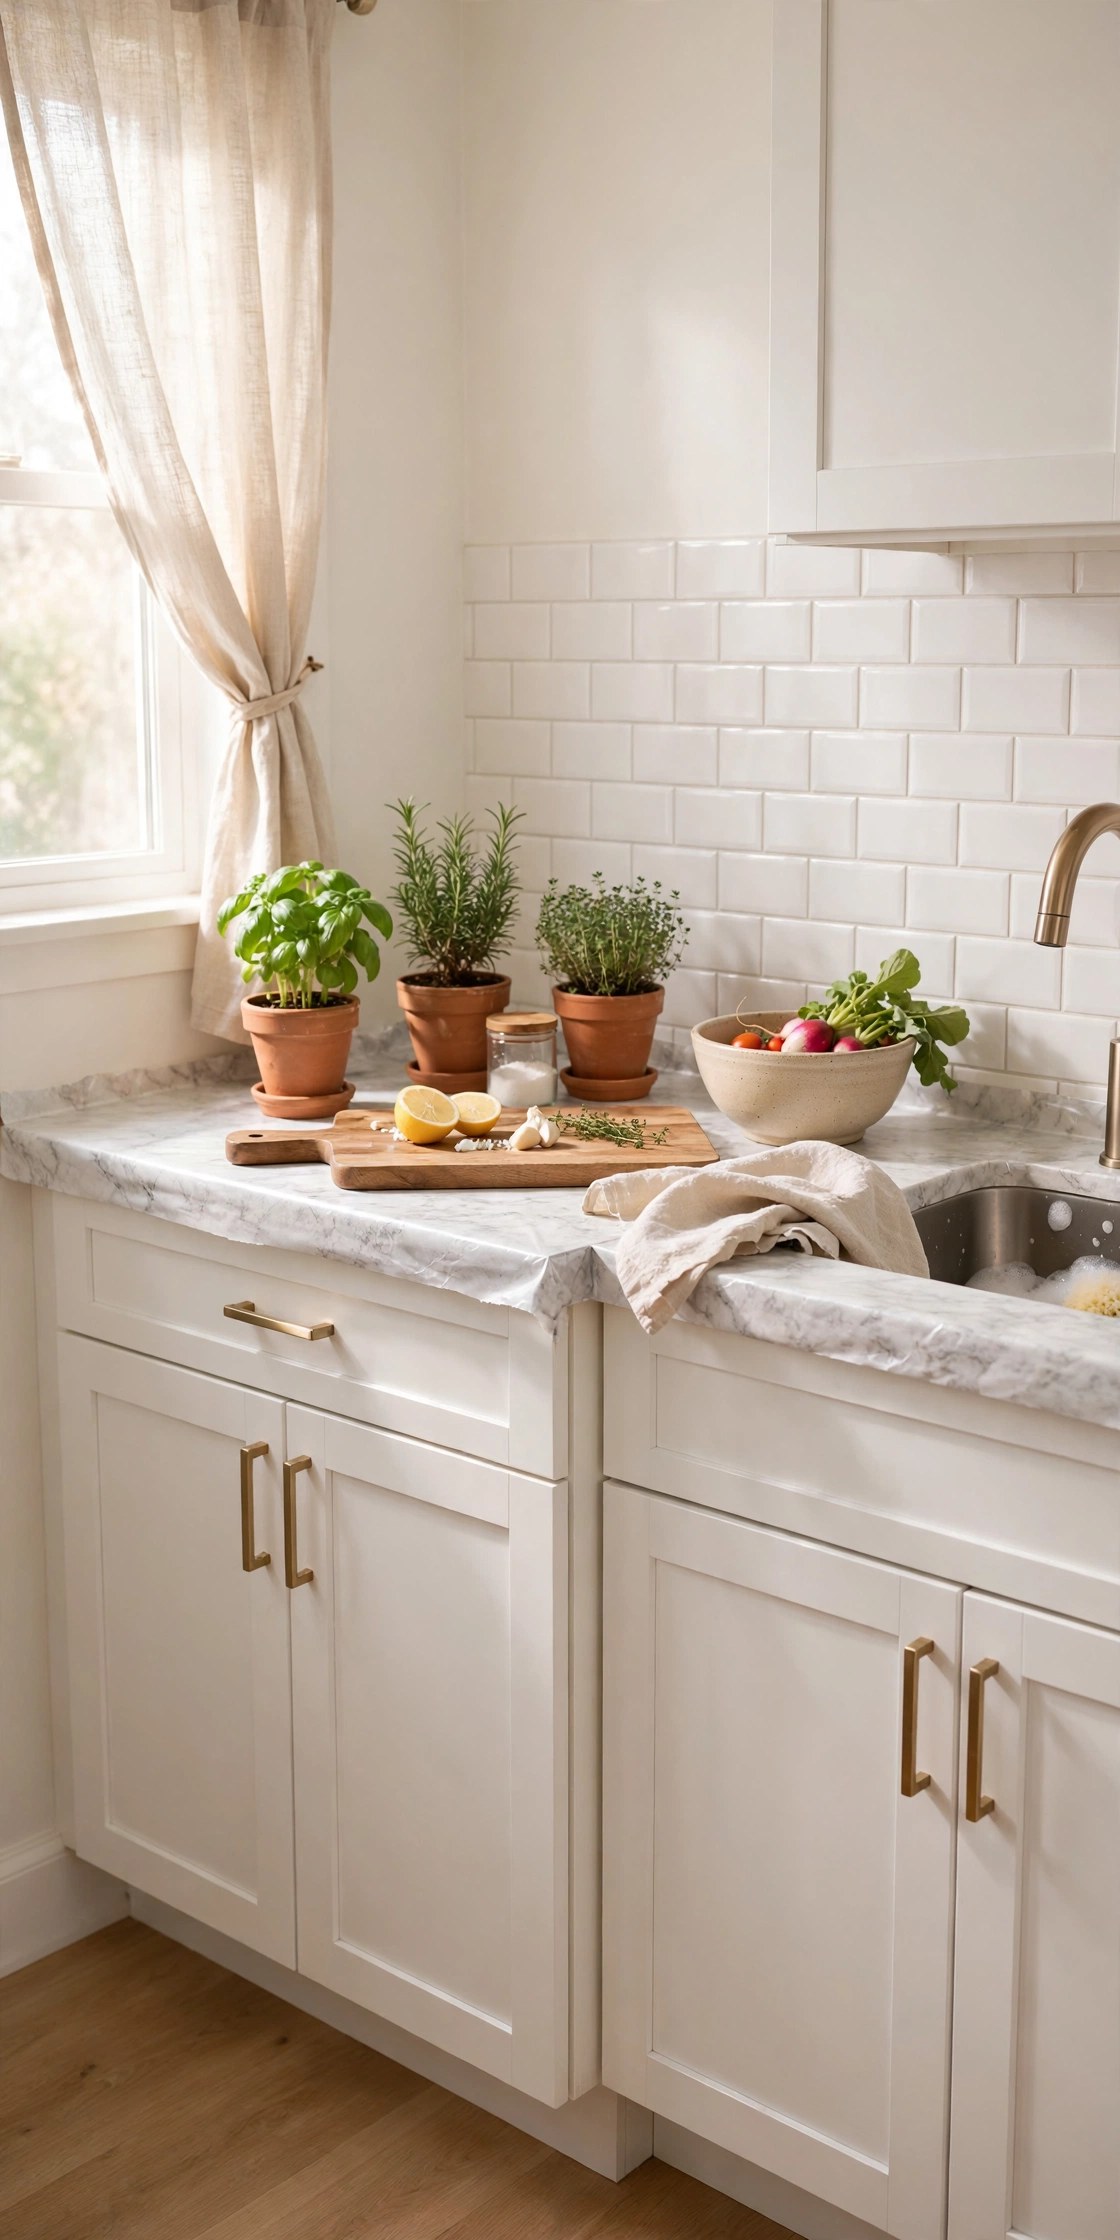
Let's be honest about what this is and isn't. Contact paper countertops are not a forever solution, and they're not a substitute for stone. They are a genuinely good-looking 2–3 year refresh for dated laminate — perfect for rentals, starter homes, or anyone saving up for the real renovation while refusing to stare at 1994 beige in the meantime.
The difference between contact paper that looks cheap and contact paper that fools people comes down to three things: meticulous prep, bubble-free application, and a polyurethane topcoat for durability and sheen. Skip any one of those and it shows. Do all three and guests will ask who did your marble.
Materials You'll Need
- Marble-look contact paper, 2 rolls (17.7" × 78" each) — $24
- Utility knife + 5-pack extra blades — $8
- Felt-edge squeegee smoother — $6
- Clear water-based polyurethane, pint (satin) — $12
- Hair dryer, degreasing cleaner, microfiber cloths — on hand / $0
Step-by-Step Instructions
- Degrease like you mean it. Scrub the counters with a degreasing cleaner, then wipe with a damp microfiber cloth and let dry completely. Kitchen laminate holds years of invisible grease — contact paper will not stick to it, and bubbles will form within weeks if you skimp here.
- Measure and cut with overhang. Measure each counter section and cut the contact paper 2 inches longer and wider than needed. The overhang wraps the front edge for a finished look — never try to butt-join exactly at the edge.
- Apply slowly from one end. Peel back 6 inches of backing, align the paper at one end, and press down. Then peel-and-smooth in 6-inch sections, working the squeegee from the center outward. Slow wins; rushing makes bubbles.
- Kill bubbles as you go. Small bubbles: push them to the nearest edge with the squeegee. Stubborn ones: prick with a pin and press flat — the hole is invisible on a marble pattern. A hair dryer on low softens the vinyl around curves and sink cutouts.
- Wrap and trim the edges. Fold the overhang under the front edge, smoothing firmly. Trim the excess underneath with a fresh utility blade, changing blades often — a dull blade tears vinyl instead of cutting it.
- Seal with polyurethane. Once everything is applied, brush on two thin coats of water-based polyurethane in satin, letting each dry fully. This is the step most tutorials skip, and it's what makes the counters wipeable, heat-tolerant, and convincingly stone-like.
- Cure before heavy use. Light use after 24 hours; give the poly a full 72 hours to harden before putting hot pots down or scrubbing aggressively. Use trivets and cutting boards like you would on real stone.
Budget Breakdown
| Item | Cost |
|---|---|
| Marble contact paper (2 rolls) | $24 |
| Utility knife + blades | $8 |
| Felt-edge squeegee | $6 |
| Water-based polyurethane (pint) | $12 |
| Hair dryer, cleaners | $0 (on hand) |
| Total | $50 |
Before & After
Before: speckled beige laminate with a scorched ring near the stove and a chipped edge by the sink — the kind of counters that make an otherwise fine kitchen feel tired every single morning. Replacing them was quoted at $2,800. That wasn't happening.
After: white marble-look counters with soft grey veining, satin sheen from the poly topcoat, clean wrapped edges. The kitchen reads brighter and a decade newer. My neighbor genuinely asked when we "got the marble done," and I got to say the whole thing cost less than her grocery run.
The polyurethane topcoat was the revelation. I'd seen contact paper counters before that looked plasticky and sad within months — unsealed vinyl can't handle kitchen life. Sealed, these have survived a year of daily cooking and still wipe clean.
Tips for Your Own Counter Refresh
- Buy 20% more paper than you measure. Miscuts happen, pattern matching eats length, and running out mid-project is how seams end up in visible spots.
- Choose a subtle marble pattern. Busy, high-contrast veining shows every imperfection; soft, low-contrast patterns forgive bubbles and seams.
- Change utility blades constantly. Fresh blade every few feet of cutting. Dull blades drag and tear — the #1 cause of ragged edges.
- Don't skip the poly topcoat. Unsealed contact paper stains, peels at edges, and looks cheap within months. Two thin coats of water-based poly changes everything.
- Always use trivets and cutting boards. Treat it like the vinyl it is: no direct heat, no knife work on the surface. It'll last years with basic care.
Frequently Asked Questions
- How long do contact paper countertops actually last?
- With the polyurethane topcoat and basic care (trivets, cutting boards), expect 2–3 years of good looks. Without the topcoat, more like 6–12 months before edges lift and stains set in. It's a bridge solution, not a lifetime one — plan accordingly.
- Is this renter-friendly?
- Yes — that's one of its best use cases. Contact paper peels off laminate cleanly (warm it with a hair dryer first), leaving the original counters intact. Keep the leftover roll in case you need to patch before move-out.
- Can I use it around the sink?
- Yes, with care: wrap the paper slightly into the sink cutout and seal the seam thoroughly with polyurethane. Wipe up standing water promptly — the weak point is always prolonged moisture at seams, not the field of the counter.