DIY Floating Shelves for Any Room: $36
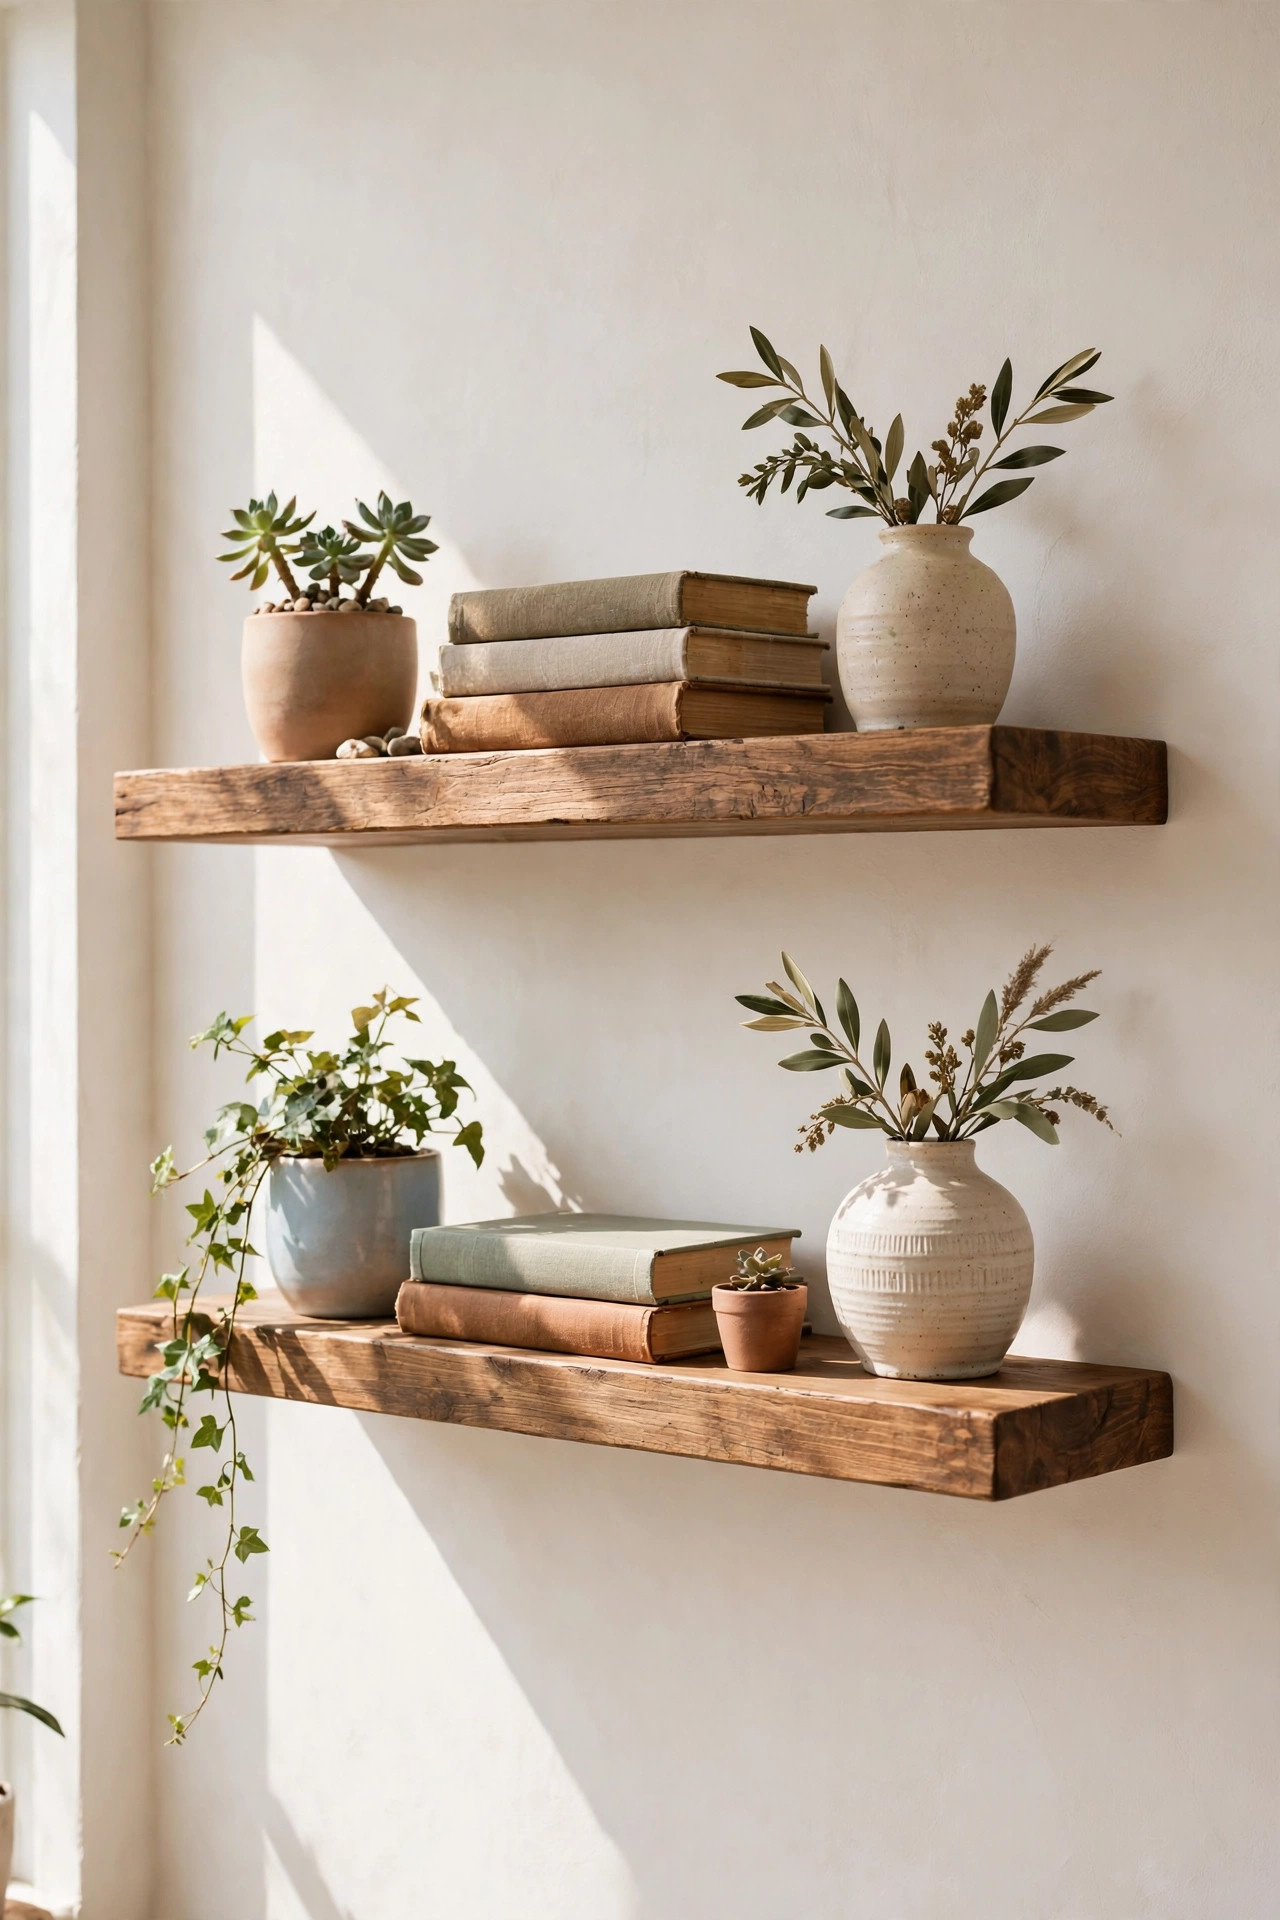
Floating shelves are the Swiss Army knife of home decor: display space in the living room, spice storage in the kitchen, towel storage in the bathroom, a plant ledge in the hallway. But store-bought floating shelves run $25 to $60 each — and the cheap ones are hollow veneer boxes that sag under a row of paperbacks. The expensive solid-wood ones are beautiful, but nobody's first shelf project should cost $120.
This build makes two solid-pine floating shelves for $36 total: real 1×8 boards (the home store cuts them to length for free), heavy-duty hidden brackets that disappear into the wood, and a warm stain that makes pine look like it cost five times more. One afternoon, one drill, and shelves sturdy enough for books, dishes, and plants — in any room of the house.
Materials You'll Need
- 2 pine boards (1×8, 4 ft) — $12
- Heavy-duty hidden shelf brackets — $10
- Wood stain + foam brushes — $8
- Sandpaper + wall anchors — $6
Step-by-Step Instructions
- Choose your wall and find the studs. Floating shelves carry their load through the brackets, so at least one bracket per shelf should land in a wall stud — that's the difference between shelves that last a decade and shelves that slowly peel out of drywall. Run a stud finder along the wall and mark each stud with painter's tape. Then decide placement: 12–18 inches above a console or desk, higher in a kitchen, and always where you can step back and see the composition.
- Cut the boards to length. A standard 1×8 pine board gives you a generous shelf depth (about 7.25 inches actual) that's deep enough for books and dishes but shallow enough to feel light. Most home-improvement stores cut lumber for free — have them cut your boards to your chosen length (3–4 feet is the sweet spot for a first project). If you cut at home, sand the cut edges smooth so they match the factory edges.
- Sand everything smooth. Start with 120-grit to knock down rough spots and mill marks, then finish with 220-grit for a surface that takes stain evenly. Sand with the grain, never across it, and round the front edge and corners slightly — sharp pine edges look cheap and dent easily. Wipe the boards down with a damp cloth or tack cloth so no dust interferes with the stain.
- Stain and seal. Apply the stain with a foam brush, working with the grain, then wipe off the excess after a few minutes with a clean rag — the longer it sits, the darker it gets. Pine is blotchy by nature; a pre-stain conditioner (or a gel stain) evens it out beautifully if your stain is going on patchy. Once the stain is dry, brush on a coat of clear polyurethane or hardwax oil so the shelves survive plants, dishes, and dusting. Let the finish cure overnight before hanging.
- Mark level lines and bracket positions. Hold the shelf at its final height and draw a light pencil line along the wall where the top will sit — check it with a level, not your eye; walls and floors lie. Mark where each bracket will go: two brackets minimum per shelf, positioned so at least one hits a stud. Measure twice, because the brackets you mount in the next step define everything.
- Mount the brackets into studs (or anchors). Drill pilot holes and drive the bracket screws into the studs where you have them; everywhere else, use heavy-duty toggle or snap-toggle anchors rated well above your expected load. Mount every bracket, then set your level across them and adjust until all brackets on a shelf sit in the same plane — a bracket that's even a hair off will tilt the whole shelf. This is the fiddliest step and the one that matters most.
- Slide the shelves on and style them. Hidden brackets are steel rods that slide into holes drilled in the back edge of the board — the shelf simply pushes on and the rods disappear inside. Give each shelf a firm test tug before loading it. Then style: anchor each shelf with something tall on one end (a plant, a stack of books), group objects in odd numbers, and leave at least a third of each shelf empty. Shelves that are fully packed look like storage; shelves with breathing room look like design.
Budget Breakdown
| Item | Cost |
|---|---|
| 2 pine boards (1×8, 4 ft) | $12 |
| Heavy-duty hidden shelf brackets | $10 |
| Wood stain + foam brushes | $8 |
| Sandpaper + wall anchors | $6 |
| Total | $36 |
Before & After
Before: a big blank wall over the reading chair — nice paint, zero personality — and a stack of books migrating from the floor to the coffee table to the kitchen counter because they had no home.
After: two warm walnut-stained pine shelves floating at staggered heights, holding the book stack, a trailing pothos, and three ceramic vases. The wall went from empty to the room's focal point, and the books finally live somewhere that isn't the floor.
The stain was the magic. Raw pine looked like, well, a construction project — one coat of warm stain and a clear topcoat later, the same boards looked like furniture. Finish your wood, friends. It's the difference between "DIY" and "custom."
Tips for Your Own Floating Shelves
- Hit a stud with at least one bracket per shelf. Anchors are good; a stud is better. One bracket in solid wood plus one in a heavy anchor holds far more than two anchors alone.
- Condition pine before staining. Pine absorbs stain unevenly and goes blotchy. A $5 pre-stain conditioner — or a gel stain — is the cheapest insurance for an even, professional finish.
- Level the brackets, not just the shelf. If the brackets aren't in the same plane, the shelf rocks. Set a level across all the brackets before the shelf goes on, while you can still adjust them.
- Leave a third of each shelf empty. Crowded shelves read as storage; curated shelves read as decor. Negative space is what makes floating shelves look expensive.
- Seal for the room they're in. Kitchen and bathroom shelves need a moisture-resistant topcoat (polyurethane or hardwax oil); living-room shelves can get by with wax. Match the finish to the splashes.
Frequently Asked Questions
- Can floating shelves hold heavy books?
- Yes — if the brackets are right. Heavy-duty hidden brackets rated for 30+ lbs per bracket, with at least one bracket in a stud, hold a full row of hardcovers easily. The failure mode is almost always undersized brackets or anchors in bare drywall, never the wood itself.
- What if there are no studs where I want the shelves?
- Use snap-toggle anchors — they're rated for 50+ lbs each in drywall and are far stronger than the plastic sleeve anchors that come in most kits. For very heavy loads with no studs available, choose a shelf position over a stud; it's worth shifting the layout a few inches for solid wood behind the wall.
- How do I keep the shelves perfectly level?
- Draw a level pencil line on the wall first and mount every bracket to that line — don't eyeball bracket heights. After the shelf slides on, check it with a level on top and shim behind a bracket if needed. A shelf that's off by even a degree will make every object on it look drunk.