DIY Open Shelving: $55 Kitchen Upgrade
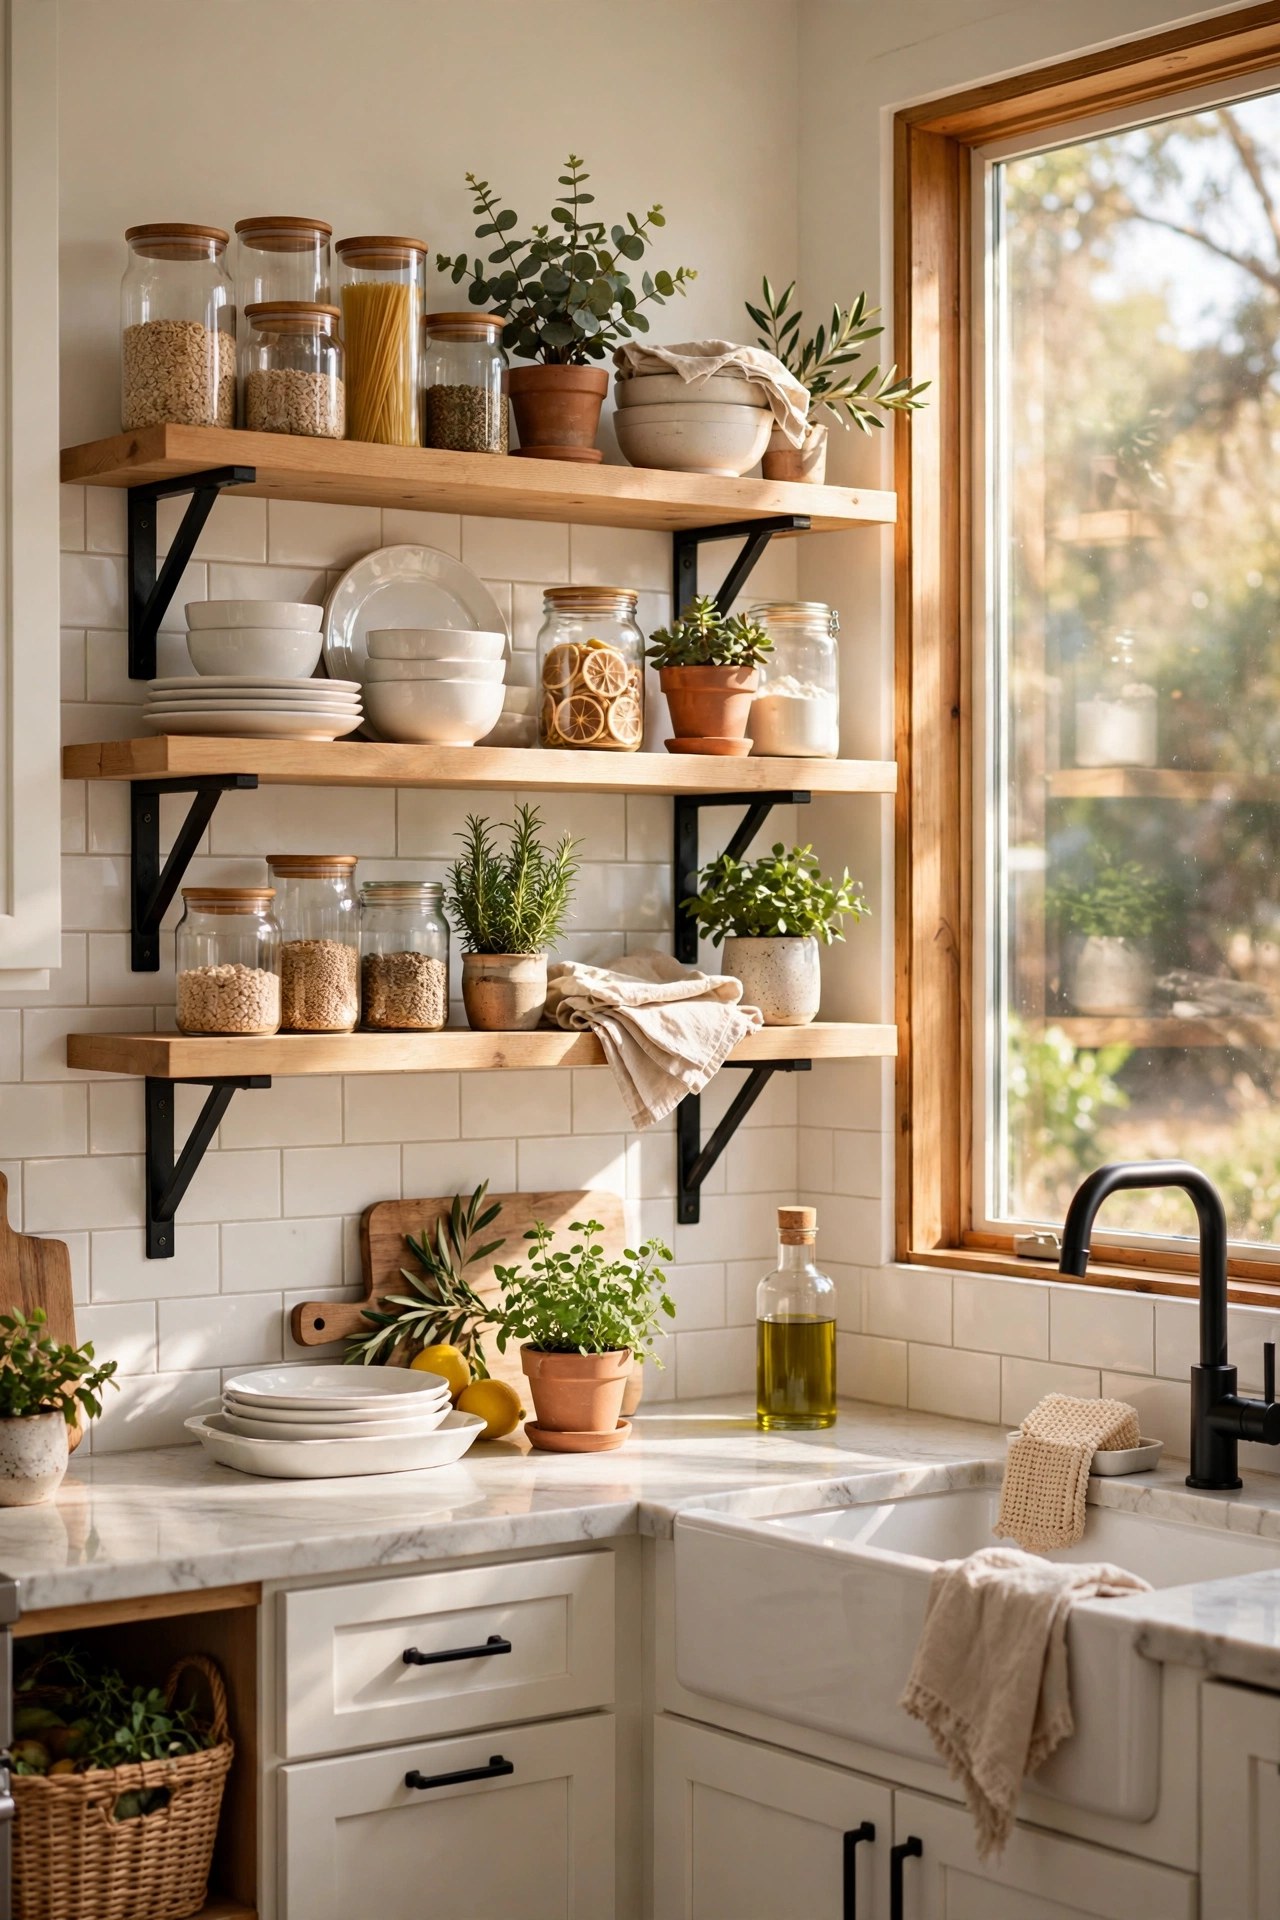
Nothing dates a kitchen faster than 1990s oak upper cabinets — and nothing modernizes one faster than taking them down. Open shelving makes small kitchens feel dramatically larger, puts your prettiest dishes to work as decor, and costs less than a single replacement cabinet door.
This project took one afternoon and $55: two pine boards, four heavy-duty brackets, and a stain that made $12 lumber look like walnut. The uppers came down Saturday morning; by dinner we were styling shelves. If your kitchen feels dark and closed-in, look up — the answer might be less cabinet, not more.
Materials You'll Need
- 2 pine boards, 1x10x6 ft — $24
- 4 heavy-duty L brackets, matte black — $16
- Small can wood stain, walnut tone — $9
- Wood screws, drywall anchors, sandpaper — $6
- Level, stud finder, drill — on hand / $0
Step-by-Step Instructions
- Plan the layout. Decide which uppers are coming down — start with one run, not the whole kitchen. Standard shelf height is 18 inches above the counter; space multiple shelves 12–15 inches apart. Mark bracket positions with painter's tape and live with the tape lines for a day.
- Remove the old cabinets. Empty them, unscrew the doors, then unscrew the cabinet boxes from the wall (usually into studs) with a helper holding each box. Patch the screw holes and touch up paint — the wall behind old cabinets often needs a fresh coat.
- Cut and prep the boards. Have the lumber yard cut your 6-foot boards to length, or cut at home with a circular saw. Sand all sides smooth with 120-grit, working up to 220 for a furniture feel. Round the front edges slightly — sharp pine edges look cheap.
- Stain the boards. Wipe on one coat of walnut stain with a rag, wait 5–10 minutes, wipe off the excess. Pine blotches easily, so work quickly and evenly. One coat is usually enough; let dry overnight. No topcoat needed for display shelves, but add one if they'll hold oily items.
- Find studs and mount brackets. This is the structural step: at least one bracket per shelf MUST hit a stud. Use the stud finder, mark carefully, and use heavy-duty drywall anchors for any bracket that lands between studs. Shelves holding dishes need real support — don't trust anchors alone.
- Level and set the boards. Mount the brackets, check level in both directions, then set the boards on top and screw up through the bracket into the board. Stand back and check from across the room — kitchen floors slope, so trust the level, not your eye.
- Style with restraint. Group dishes in stacks, vary heights with a plant or small art, and leave breathing room — about a third of each shelf should be empty. Corral small items on a tray so it reads as styled, not cluttered.
Budget Breakdown
| Item | Cost |
|---|---|
| Pine boards 1x10x6 ft (2) | $24 |
| Heavy-duty L brackets (4) | $16 |
| Wood stain, walnut (small can) | $9 |
| Screws, anchors, sandpaper | $6 |
| Level, stud finder, drill | $0 (on hand) |
| Total | $55 |
Before & After
Before: a run of honey-oak uppers that stopped the eye dead and swallowed the light. The kitchen felt like a corridor — dark, closed, and somehow smaller than its actual square footage. We stored things up there we hadn't touched in years.
After: the wall breathes now. Light reaches the back counter, the white dishes pop against the walnut shelves, and the kitchen feels a foot wider in every direction. It looks like a kitchen from a magazine's "small space" feature — because that's exactly what it is.
The biggest surprise was how much we use the shelves versus the old cabinets. Things you can see, you use. The everyday dishes finally live at arm's reach instead of behind a door, and the rarely-used gadgets found a new home in the lower cabinets.
Tips for Your Own Open Shelves
- Studs first, aesthetics second. Bracket placement is dictated by studs, not symmetry. Plan your shelf lengths around where the studs actually are.
- Go thicker than you think. 1x10 pine looks substantial; 1x8 can look skimpy once styled. The extra two inches of depth make styling much easier.
- Stain before mounting. It's ten times easier to get an even finish on a board lying on sawhorses than on one already on the wall.
- Keep a consistent color story. White, wood, and green (dishes, boards, plants) is a foolproof palette. Too many colors reads as clutter on open shelves.
- Dust weekly, honestly. Open shelves collect grease and dust. A two-minute weekly wipe keeps them pretty; a monthly deep-clean keeps them sanitary.
Frequently Asked Questions
- How much weight can DIY open shelves hold?
- With brackets screwed into studs, each bracket typically supports 50+ pounds — plenty for dishes and glassware. The weak link is almost always the mounting, not the bracket or board. When in doubt, add a third bracket per shelf.
- Won't everything get dusty and greasy?
- Items you use daily stay clean through use. Decorative items need a quick weekly dust. If your stove is very close with no range hood, reconsider — grease plus open shelves is a losing battle.
- Should I remove all my upper cabinets?
- Start with one section and live with it for a month. Many people love the look but miss the hidden storage. A hybrid — open shelves on one wall, cabinets on another — is often the sweet spot.