Peel-and-Stick Backsplash: Weekend Kitchen Upgrade Under $80
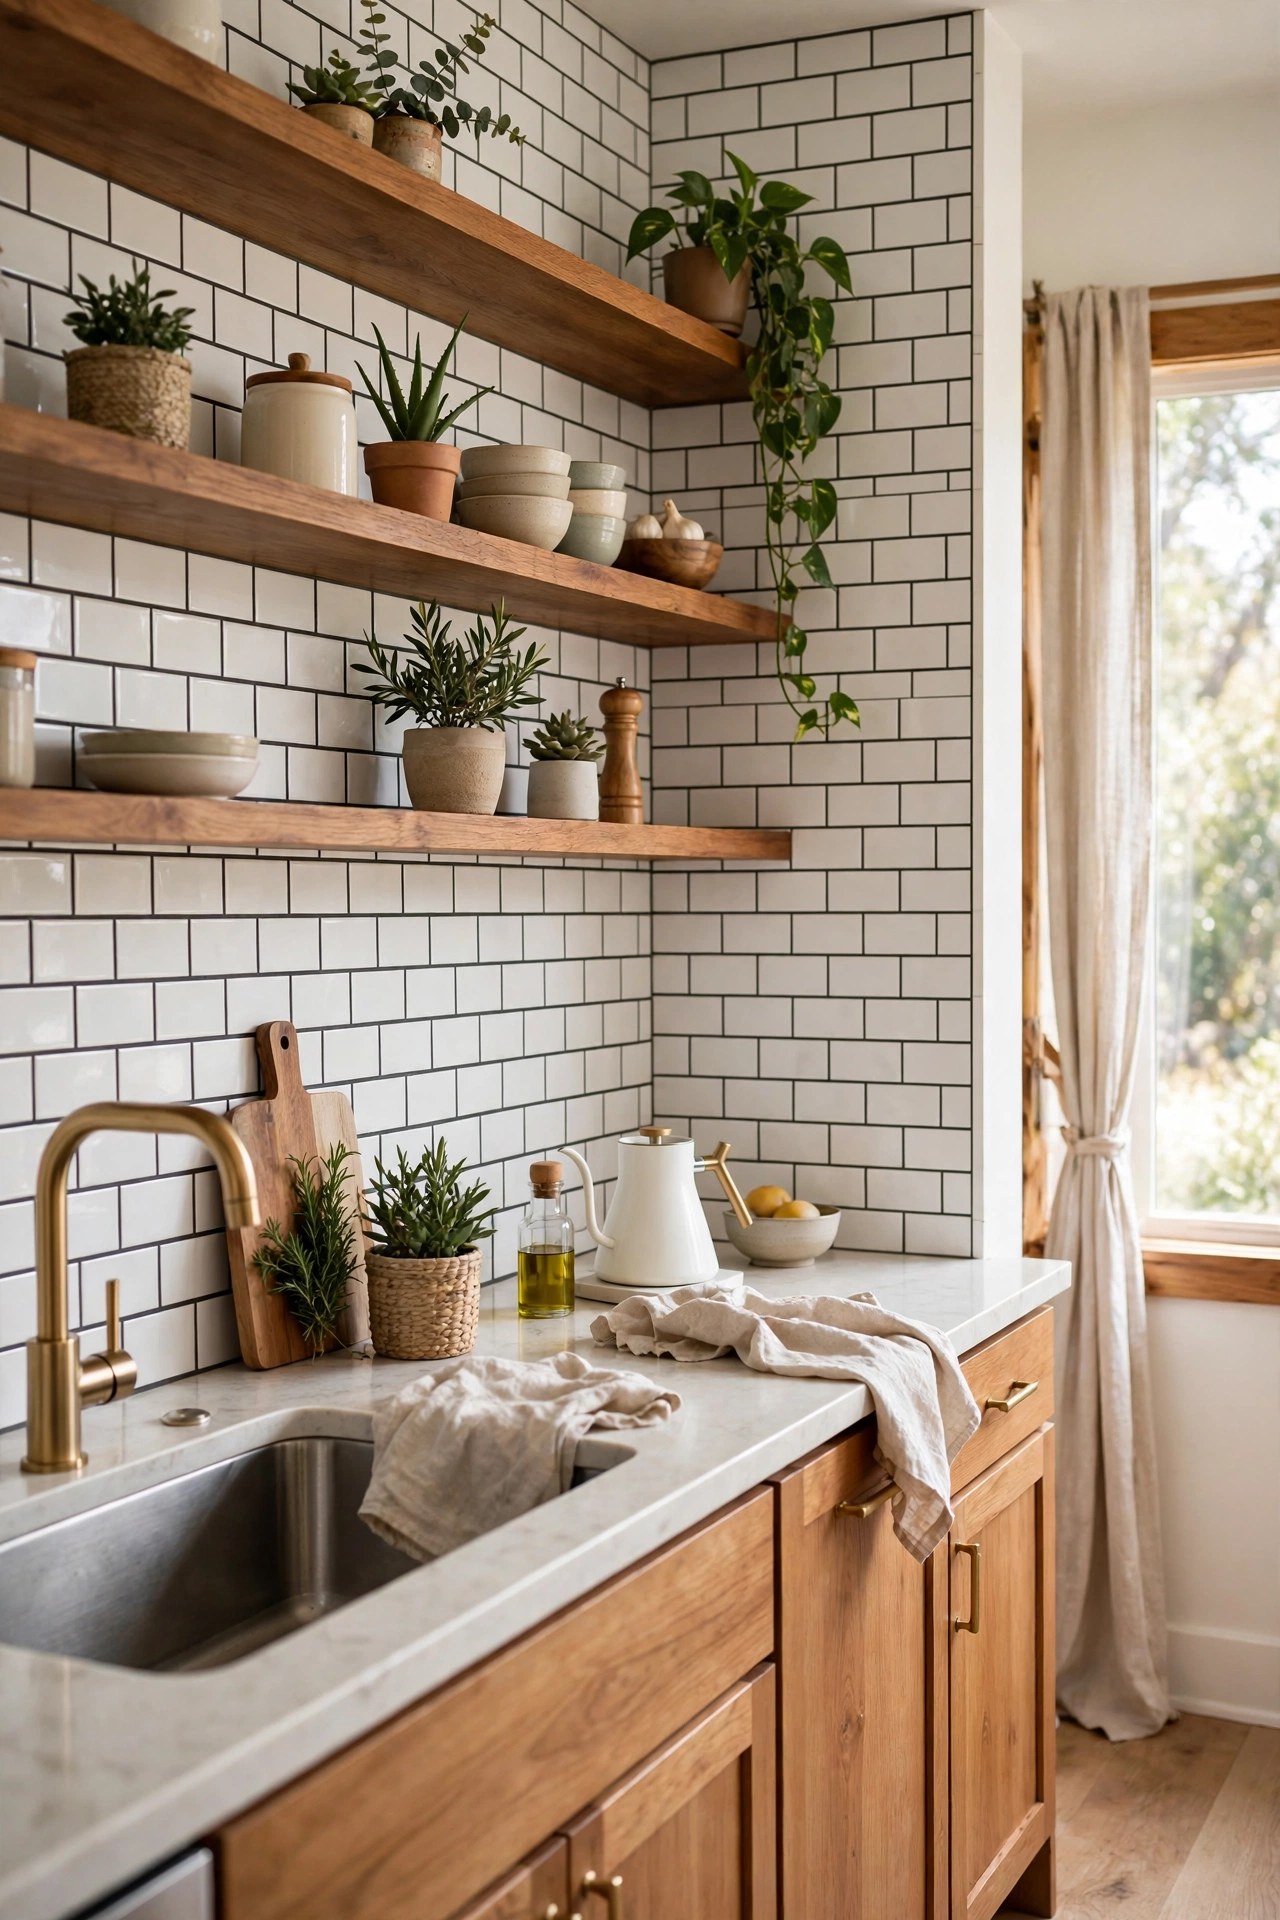
A backsplash is the highest-impact, lowest-cost upgrade in a kitchen. It covers the most boring square footage in the room — that blank stretch of drywall between the counter and the cabinets — and it does it with zero grout, zero tile saw, and zero contractor. Modern peel-and-stick tile sheets are thick, textured, and genuinely hard to distinguish from real tile at arm's length.
This project took one Saturday and $76. The only tools were a utility knife, a ruler, and a caulk gun. If you can wrap a present neatly, you can install a peel-and-stick backsplash.
Materials You'll Need
- 10 sheets peel-and-stick subway tile, 12x12 in (covers ~20 sq ft) — $38
- Utility knife with extra blades — $8
- Metal ruler or straightedge, 24-inch — $6
- Degreasing cleaner (TSP substitute) — $7
- White silicone caulk, kitchen/bath — $7
- Painter's tape — $5
- Plastic smoothing tool or old credit card — $5
- Level, pencil, rags — on hand / $0
Step-by-Step Instructions
- Measure your wall. Measure the height from counter to cabinet bottom and the total length. Buy 10% more tile than your square footage — you'll lose sheets to outlet cuts and mistakes. For a standard 10-foot run, 10 sheets is the sweet spot.
- Deep-clean the wall. Kitchens coat walls in a thin film of grease that adhesive tile cannot grip. Scrub with degreasing cleaner, rinse, and let dry completely. This step decides whether your tile stays up for years or peels by spring.
- Plan your layout. Find the center of the wall and dry-fit your first sheets without peeling the backing. Real subway tile staggers; most peel-and-stick sheets print the staggered pattern, so you just butt the sheets edge to edge.
- Stick from the bottom up. Peel the backing from the top two inches of the first sheet, align it with your level line above the counter, and smooth downward with the plastic tool, pressing out air bubbles as you go. Work one sheet at a time.
- Cut around outlets. Turn off the breaker, remove outlet covers, and press the sheet over the outlet box. Score the outline with the utility knife against the metal ruler, peel away the waste, and reinstall the cover over the tile. Cut slowly — you can always trim more, but you can't add tile back.
- Caulk the edges. Run a thin bead of silicone where the tile meets the counter and the cabinets. Smooth with a wet finger. This seals out water and hides every imperfect cut. Remove the painter's tape and admire your work.
Budget Breakdown
| Item | Cost |
|---|---|
| Peel-and-stick tile sheets (10) | $38 |
| Utility knife + blades | $8 |
| Metal ruler, 24" | $6 |
| Degreasing cleaner | $7 |
| Silicone caulk | $7 |
| Painter's tape | $5 |
| Smoothing tool | $5 |
| Level, pencil, rags | $0 (on hand) |
| Total | $76 |
Before & After
Before: ten feet of flat beige drywall collecting cooking splatter, with a visible grease shadow behind the stove. The kitchen was fine in every other way — decent cabinets, okay counters — but that blank wall made the whole room feel unfinished, like a renovation someone gave up on halfway.
After: the white subway tile with dark grout lines gives the kitchen a classic, intentional look. The open shelves suddenly make sense against it, the brass faucet pops, and the whole room reads as "designed" instead of "default." Guests assume it's real tile until they touch it.
The caulk line along the counter is the detail that sells it. Without caulk, the bottom edge looks like stickers; with it, the tile looks built-in. Seven dollars, ten minutes, all the difference.
Tips for Your Own Backsplash
- Grease is the enemy. If your wall is behind a stove, clean it twice. Adhesive failure is almost always a prep failure, not a product failure.
- Order one extra sheet. Miscuts happen, and dye lots vary between batches — a sheet bought later may not match.
- Warm the sheets slightly with a hair dryer on low if they're stiff; warm adhesive conforms to slight wall texture better.
- Don't stretch the sheets to make them fit. Cut a filler strip instead — stretched adhesive relaxes and peels over time.
- Renter-friendly with a caveat: the tile removes cleanly from smooth painted drywall with gentle heat, but test one sheet behind the fridge first and photograph the original wall.
Frequently Asked Questions
- Will peel-and-stick tile survive behind a stove?
- Yes, with distance. Keep it at least a few inches from direct high heat — it's vinyl, not ceramic. Behind a standard range with a few inches of clearance, it holds up fine to normal cooking heat and steam.
- Can I install it over existing tile?
- You can, if the old tile is flat, firmly attached, and thoroughly degreased. The adhesive needs a smooth, stable surface. Skip it over loose, cracked, or heavily textured tile.
- How do I clean it?
- Warm water and mild dish soap with a soft cloth — same as you'd treat real tile. Avoid abrasive scrubbers and harsh solvents, which can dull the printed finish.