Spray Paint Old Light Fixtures: $20 Lighting Update
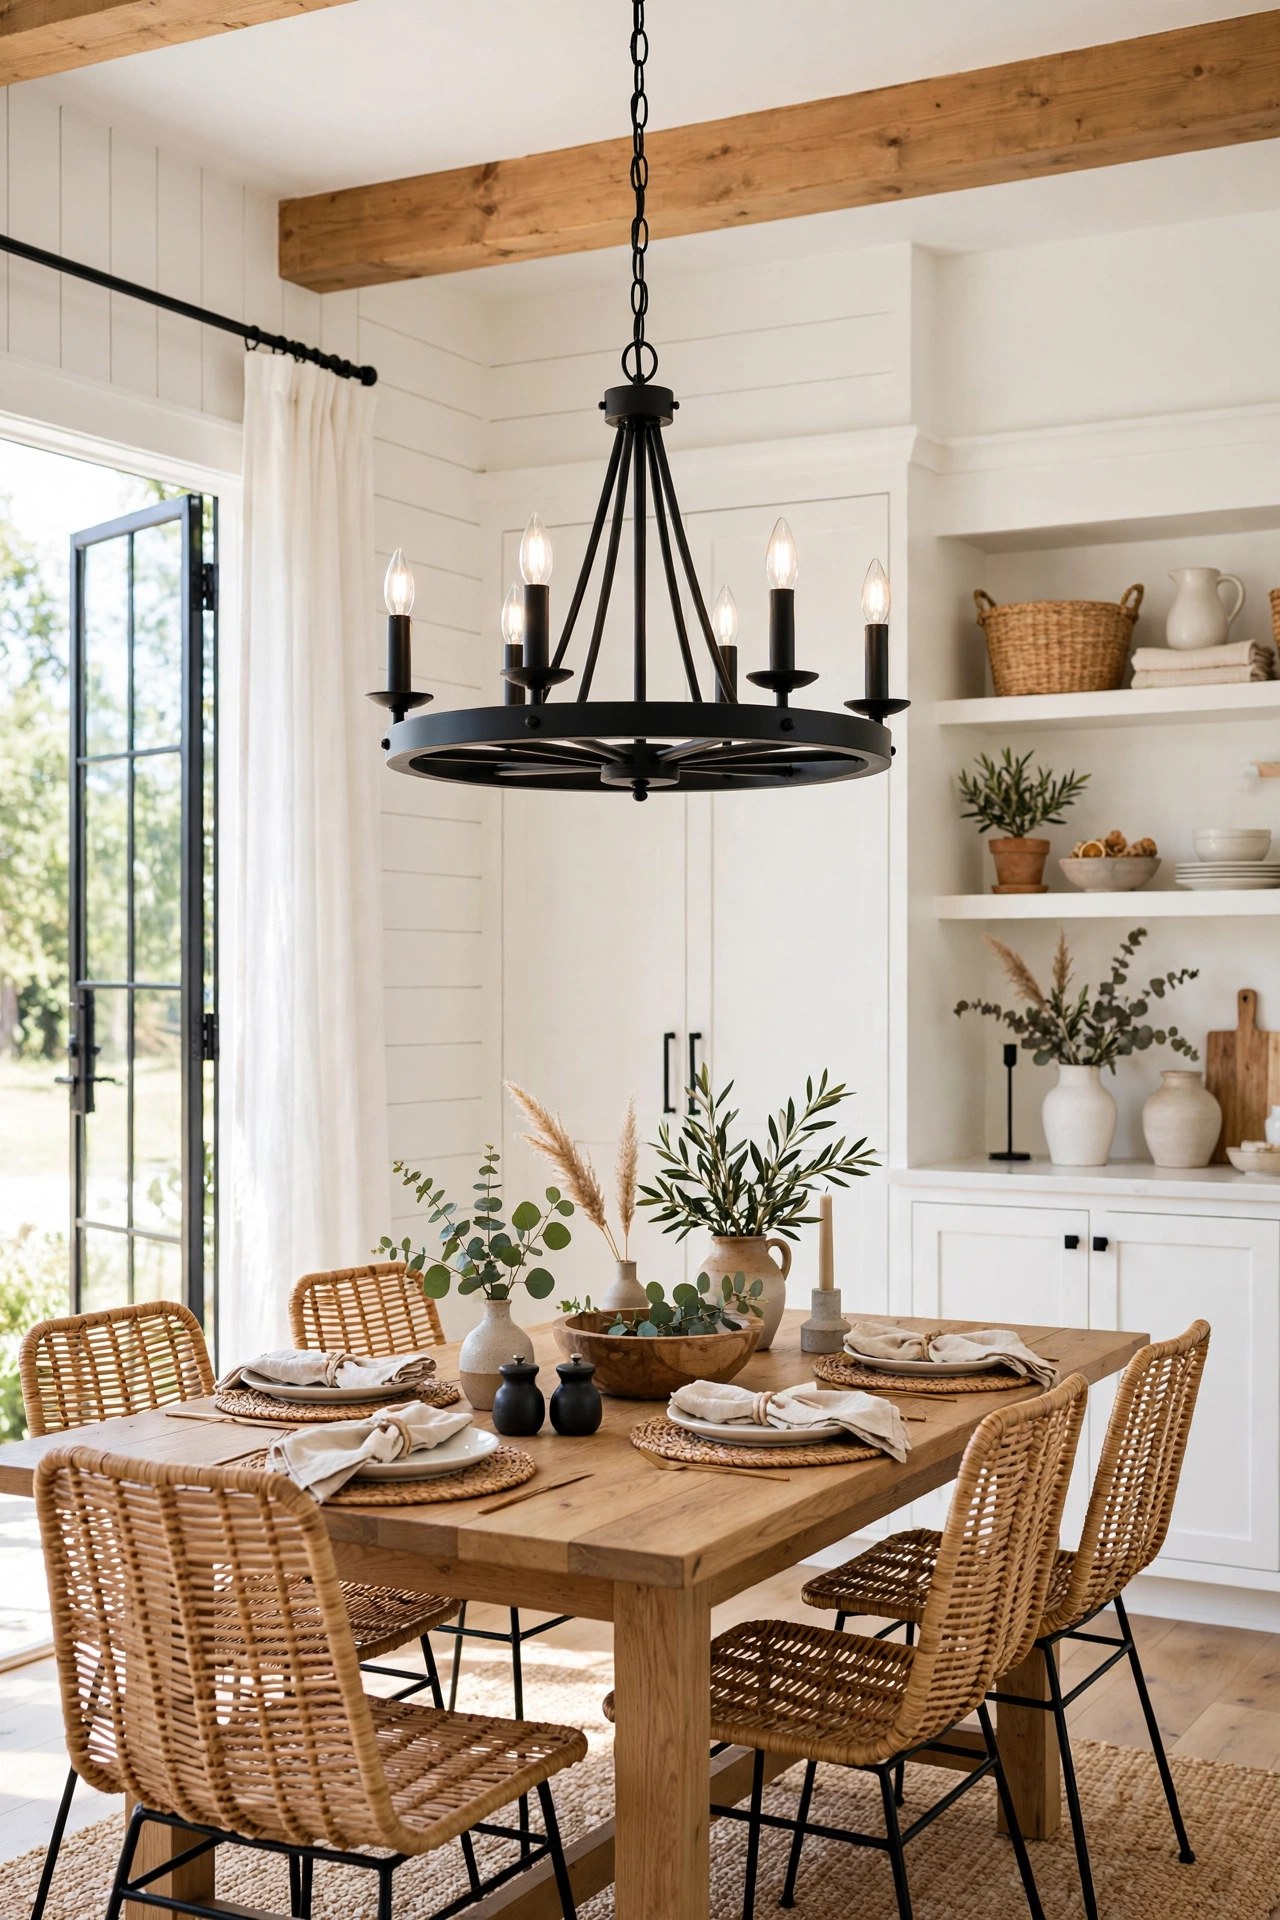
Nothing dates a room faster than shiny brass light fixtures from the 90s — and nothing is more expensive to replace than lighting. A decent new chandelier starts around $150 and climbs fast. But here's the thing electricians won't tell you: the fixture itself is usually fine. It's just the finish that's ugly, and finish is the cheapest thing in the world to change.
This project took one afternoon and $20: two cans of spray paint, some tape, and careful prep. The brass chandelier over our dining table is now a matte black statement piece that looks like it came from a boutique lighting store. There are safety rules with this one — electricity deserves respect — so read the whole thing before you start.
Materials You'll Need
- 2 cans matte black spray paint, high-heat rated — $12
- Roll of painter's tape — $4
- Fine-grit sandpaper pack (220 grit) — $2
- Plastic drop cloth — $2
- Screwdriver, degreasing cleaner, rags — on hand / $0
Step-by-Step Instructions
- Kill the power — for real. Turn off the breaker for the fixture, not just the wall switch. Tape the breaker in the off position and put a note on it. Test that the light is dead before touching anything. This is non-negotiable.
- Remove the fixture. Unscrew the canopy cover at the ceiling, disconnect the wire nuts (black to black, white to white — take a phone photo first so you know how it goes back), and carefully lower the fixture. Have someone hold it while you work, or rest it on a padded table.
- Clean and scuff. Wash every painted surface with degreasing cleaner — years of dust and cooking grease live on light fixtures. Once dry, lightly scuff with 220-grit sandpaper. You're not removing the old finish, just giving the new paint something to grip.
- Mask what must stay unpainted. Tape off the sockets (where bulbs screw in), any wiring, the mounting bracket, and glass shades if you're keeping them clear. Paint in sockets causes poor bulb contact; paint on wires is a fire risk. Be thorough here.
- Spray light, even coats. Outdoors or in a ventilated garage, lay the fixture on a drop cloth. Hold the can 8-10 inches away and use sweeping passes — three thin coats beats one thick coat every time. Thick coats drip, and drips on a light fixture catch the eye forever. Let each coat dry per the can's instructions.
- Reinstall and relight. Once fully cured (give it a full 24 hours), remove the tape, reconnect the wires exactly as photographed, tuck them into the ceiling box, and remount. Flip the breaker, screw in LED bulbs (they run cooler than incandescents), and enjoy your "new" fixture.
Budget Breakdown
| Item | Cost |
|---|---|
| Matte black spray paint, high-heat (2 cans) | $12 |
| Painter's tape | $4 |
| Fine-grit sandpaper pack | $2 |
| Plastic drop cloth | $2 |
| Screwdriver, cleaner, rags | $0 (on hand) |
| Total | $20 |
Before & After
Before: a shiny brass chandelier with frosted glass shades that screamed 1994. It was the first thing you noticed walking into the dining room, and not in a good way — it clashed with everything we'd done to modernize the space. Replacing it would have meant $150+ and possibly an electrician.
After: the same chandelier in matte black looks deliberate and modern — the silhouette that seemed dated in brass suddenly reads as classic. Against our white ceiling it practically disappears in the best way, letting the table and chairs take center stage. Guests assume it's new.
The biggest surprise was how much the finish changed the fixture's whole personality. Brass said "builder grade"; matte black says "we chose this." Same metal, same shape, $20 of paint — it's the highest-impact-per-dollar project on this entire site.
Tips for Your Own Fixture Refresh
- Use high-heat rated paint. Standard spray paint near hot bulbs can discolor or off-gas. High-heat paint (rated 1200°F+) is made for grills and engines — a light fixture is easy work for it.
- Never paint sockets or wiring. Mask bulb sockets, wire connections, and the mounting hardware thoroughly. Paint interferes with electrical contact and creates real fire risk.
- Switch to LED bulbs. They run dramatically cooler than incandescents, which is kinder to your new paint job and your electric bill.
- Photograph the wiring. Before disconnecting anything, take a clear photo of which wire connects where. Future-you will be grateful.
- Matte black is the safest bet, but oil-rubbed bronze and satin nickel spray paints also exist. Match the finish to your door hardware for a cohesive look.
Frequently Asked Questions
- Is it safe to spray paint a light fixture?
- Yes, with the right precautions: power fully off at the breaker, high-heat rated paint, and sockets/wiring carefully masked and left unpainted. If the fixture's wiring is brittle, cracked, or aluminum, skip the paint and call an electrician — that's a replacement situation, not a cosmetic one.
- Will the paint hold up to the heat?
- High-heat spray paint handles fixture temperatures easily, especially with LED bulbs that run cool. Standard spray paint can yellow or peel near hot incandescent bulbs, which is why the high-heat rating matters.
- Can renters do this?
- Ask your landlord first — you're modifying a hardwired fixture. Many landlords are fine with it since it improves the unit, but get permission in writing. Keep the original fixture stored safely so you can reinstall it when you move.