Budget Garage Organization: $85
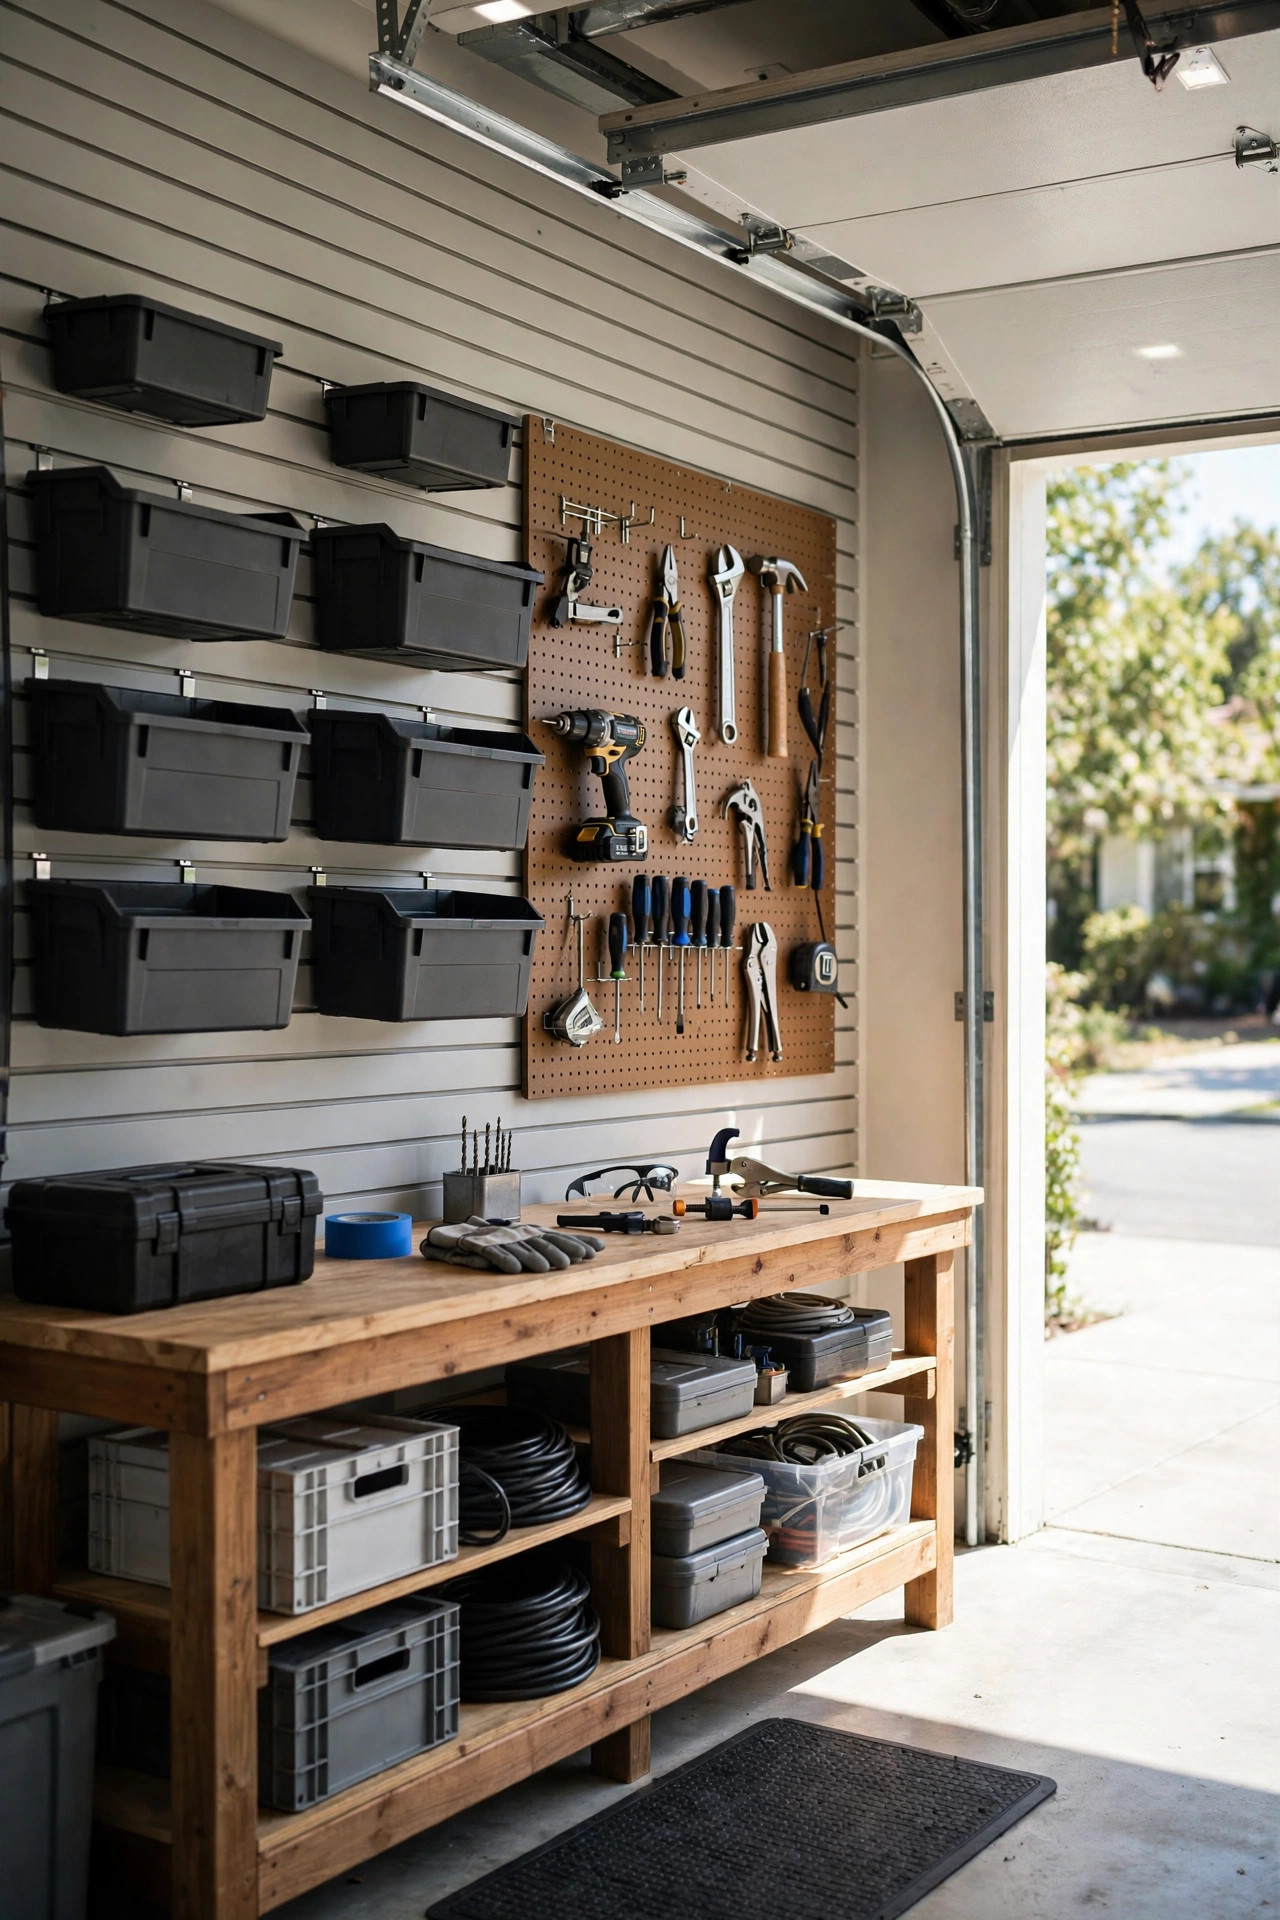
Every garage follows the same arc: it starts as a parking spot, then slowly becomes a storage unit with a car in it. The fix isn't a bigger garage — it's a wall of storage that puts every tool, bin, and gadget in a visible, labeled home. When everything has a place, the floor stays clear and you stop buying duplicates of things you already own.
This garage organization overhaul cost $85 total: two pegboard panels with hooks, eight stackable bins, a chalk-label kit, and a simple lumber-and-bracket shelf above the workbench. One weekend, and the garage went from chaos to a workshop you can actually work in — with every tool visible at a glance.
Materials You'll Need
- 2 pegboard panels (2 x 4 ft) — $24
- Pegboard hook kit (40 pieces) — $12
- 8 stackable storage bins — $24
- Chalk labels + marker — $5
- 2x10 lumber shelf + 4 brackets — $15
- Mounting hardware (screws, anchors) — $5
Step-by-Step Instructions
- Empty, sort, and purge. Pull everything off one wall at a time and sort it into three piles: keep, donate, trash. Be honest — if a tool hasn't been touched in two years, someone else needs it. This step costs nothing and is the reason the whole system works; storage can't fix clutter you don't need.
- Group everything into zones. Decide your zones before buying anything: tools, automotive, garden, paint, sports, holiday. Every item gets a zone, and every zone gets a location on the wall. Zones are the difference between "organized for a week" and "organized for a year."
- Mount the pegboard panels. Find the studs and screw furring strips to the wall first — pegboard needs an air gap behind it so hooks can seat fully. Mount the panels side by side at a height where your longest tools hang without touching the floor. Drive screws into studs everywhere you can.
- Hang tools by frequency of use. Put daily-use tools at arm height, less-used tools higher, and anything heavy on the strongest hooks. Trace each tool's outline on the pegboard with a marker so everything has a visible "shadow" — you'll know instantly when something is missing, and everyone in the family learns where things live.
- Install the shelf above the workbench. Mount the 2x10 board on heavy-duty brackets screwed into studs, about 18 inches above the workbench. This is the home for paint cans, lubricants, and small project supplies — everything off the work surface, everything visible.
- Load the stackable bins. Fill bins by zone — one zone per bin, no exceptions. Bins stack on the shelf or along the wall base. Keep the heaviest bins (paint, chemicals) on the bottom and light seasonal stuff on top. Uniform bins are worth the fuss: they stack safely and look instantly tidy.
- Label everything twice. Stick chalk labels on the front of every bin and write the contents on the shelf edge below each zone. Label the pegboard shadows too. Labels feel fussy until month three, when you realize you can find the zip ties in the dark without thinking.
Budget Breakdown
| Item | Cost |
|---|---|
| 2 pegboard panels (2 x 4 ft) | $24 |
| Pegboard hook kit (40 pieces) | $12 |
| 8 stackable storage bins | $24 |
| Chalk labels + marker | $5 |
| 2x10 lumber shelf + 4 brackets | $15 |
| Mounting hardware (screws, anchors) | $5 |
| Total | $85 |
Before & After
Before: tools in three different drawers and a bucket, paint cans scattered across the floor, and a workbench buried under "project" piles. Finding the drill took ten minutes and a small excavation.
After: every tool hangs on the pegboard in its outlined shadow, eight labeled bins hold the rest by zone, and the workbench is clear enough to actually work on. The floor is visible — all of it.
The shadow outlines were the sleeper hit. Drawing around each tool on the pegboard took twenty minutes, and it's the feature that keeps the system alive: anyone can see at a glance what goes where, and tools actually get put back.
Tips for Your Own Garage Organization
- Go vertical before you go horizontal. Wall space is free; floor space is what you're trying to protect. Pegboard, shelves, and hooks should hold as much as possible before anything sits on the ground.
- Always screw into studs. Pegboard, shelves, and bike hooks all carry real weight. Drywall anchors are fine for a single hook, but anything holding tools needs studs. A stud finder is the cheapest insurance you can buy.
- Buy matching bins, always. Mixed bins don't stack, and unstackable bins eat floor space. One bin style in one color, bought in bulk, is the fastest way to look organized even mid-project.
- Keep chemicals low and locked. Paint, solvents, and pesticides go in a bottom bin, upright, with lids sealed. Never store them above food, and keep them out of reach if kids use the garage.
- Do a ten-minute reset weekly. Systems decay without maintenance. A ten-minute weekly sweep — tools back to their shadows, bins re-stacked — keeps the garage organized indefinitely.
Frequently Asked Questions
- Can pegboard hold heavy power tools?
- Yes, when it's mounted properly. Screw furring strips into studs, mount the panel over them, and use metal double-prong hooks for heavy items. A drill or circular saw is no problem; just don't hang anything over 20 pounds on a single hook.
- What if my garage walls are concrete or block?
- Use concrete screws or a powder-actuated tool to mount furring strips directly to the wall, then attach pegboard and brackets to the strips. It takes a bit longer than wood studs, but the finished system is even stronger.
- How do I keep the garage from getting messy again?
- Two habits: the tool-shadow system so everything has a visible home, and the ten-minute weekly reset. Most garage chaos comes from "I'll put it away later" — make putting it away take five seconds and it actually happens.