DIY Upholstery Basics (No-Sew): $40
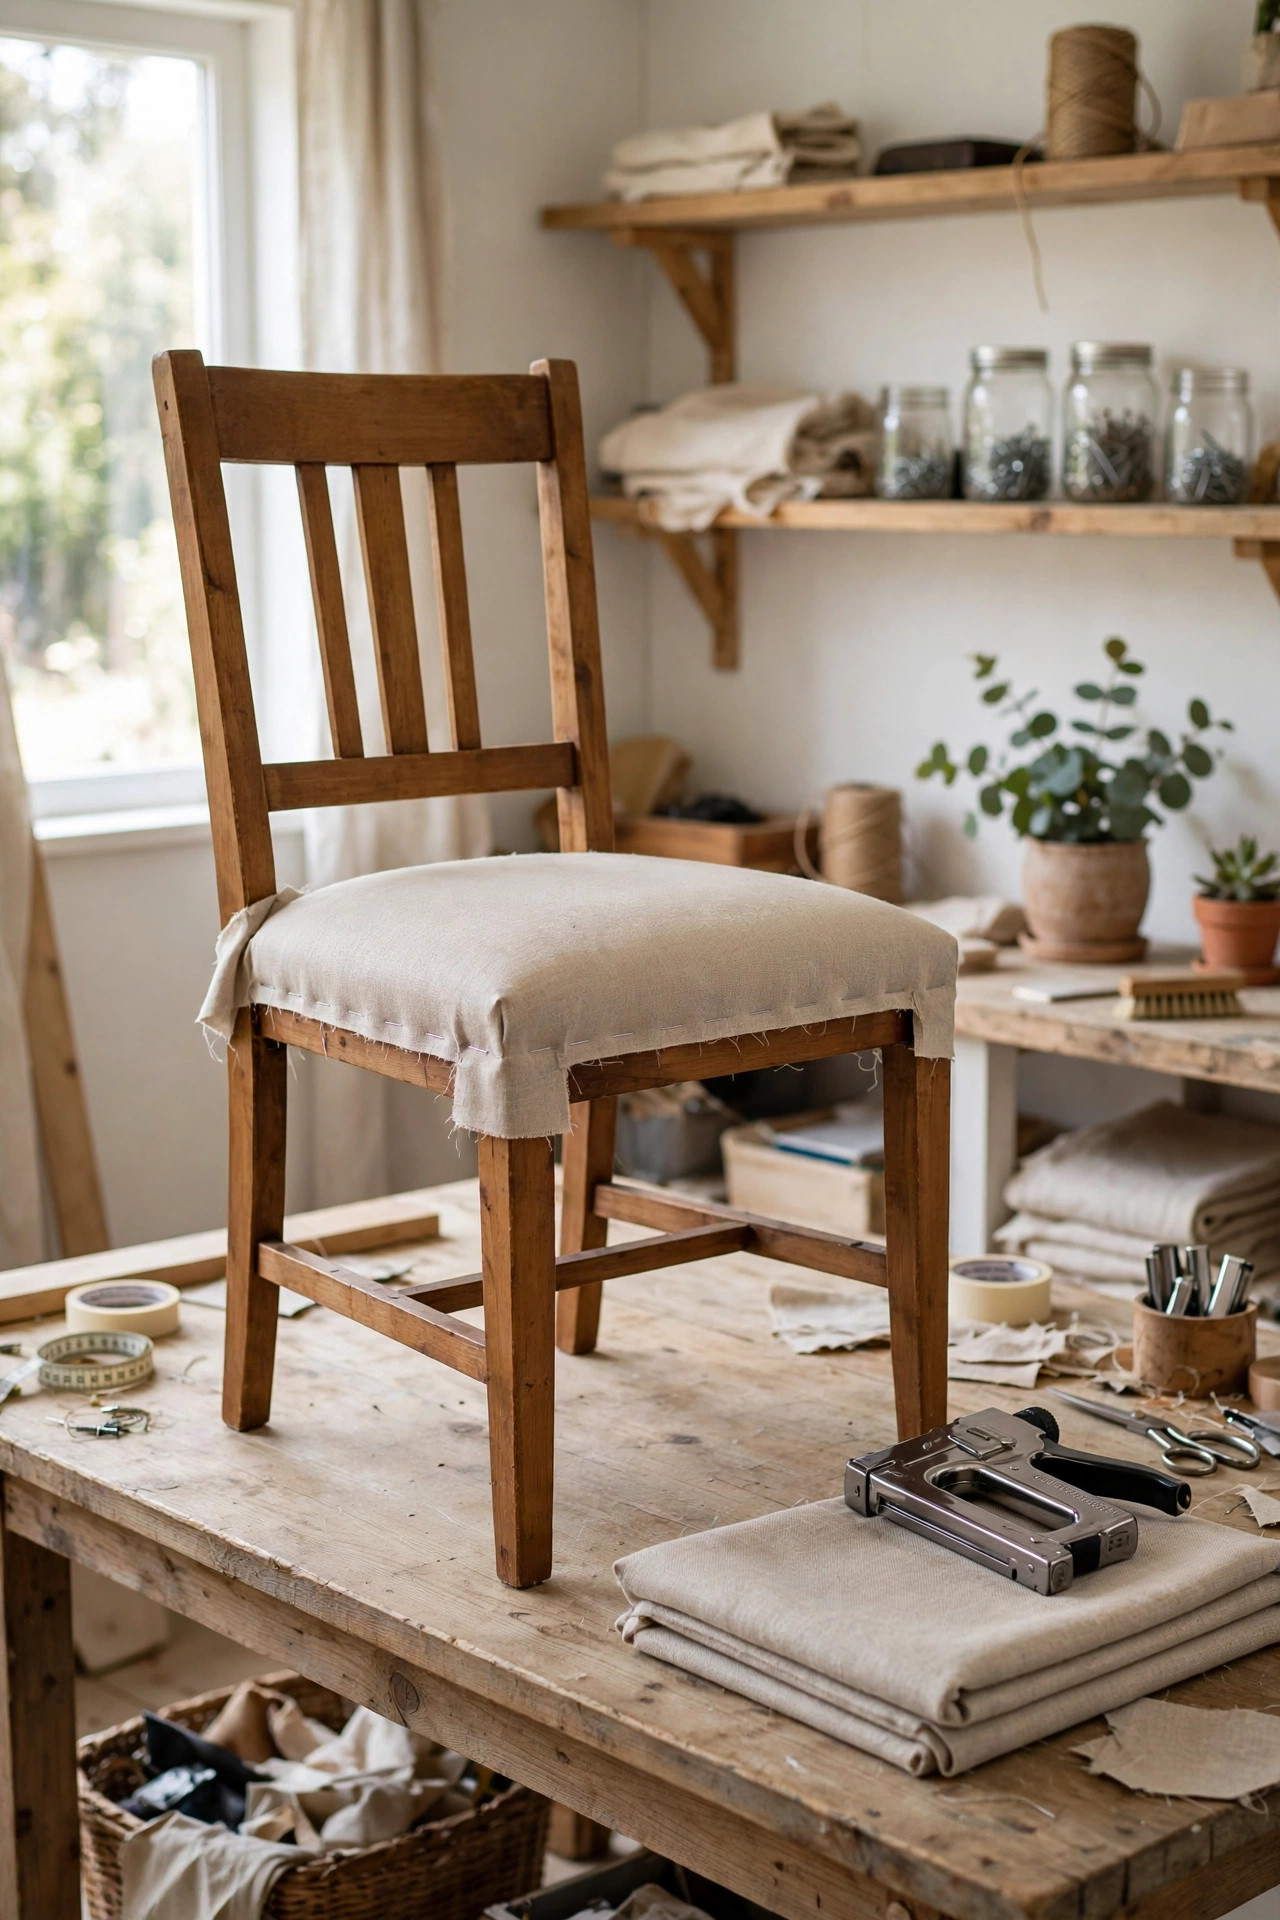
Upholstery sounds like a skill that takes years — but the most common beginner project, a dining chair seat, is really just four materials and a staple gun. No sewing machine, no piping, no pleating. If you can pull fabric tight and squeeze a staple gun, you can reupholster a chair seat in under an hour.
This project cost $40 total: two yards of linen-look fabric, a manual staple gun with staples, new foam, and batting. The chair underneath was a $5 thrift find with solid wood and a sad, stained seat. One afternoon later, it looks like it came from a boutique furniture store — and the staple gun is now a permanent member of the toolbox.
Materials You'll Need
- Upholstery fabric, 2 yards — $14
- Manual staple gun + staples — $12
- High-density foam, 1-inch — $8
- Polyester batting — $4
- Fabric glue / hem tape — $2
Step-by-Step Instructions
- Remove the seat from the chair. Most dining chair seats unscrew from underneath with four screws. Flip the chair, remove them, and lift the seat base off. If the old fabric is ripped or smells, pull the old staples out with a flat screwdriver — this is the most tedious part, so put on a podcast.
- Cut new foam and batting. Trace the old seat base onto the new foam and cut it slightly smaller — foam that overhangs will show through the fabric. Cut the batting a couple of inches larger than the seat on all sides. Stack foam on the seat base, batting over that, and smooth everything flat.
- Cut your fabric with generous margins. Lay the fabric face-down, place the seat assembly on top, and cut a square that leaves 4–5 inches of fabric beyond the seat on every side. More margin is always better than less — you can trim excess, but you can't add fabric back.
- Staple the centers of opposite sides first. Start in the middle of one long side: pull the fabric snug (not stretched — snug) and fire a staple into the underside of the seat. Move to the exact opposite side, pull snug, staple. Repeat on the two short sides. This centering step is what keeps the fabric pattern straight and wrinkle-free.
- Work outward from the centers. Alternating sides, staple outward from each center staple toward the corners, pulling the fabric taut and smooth as you go. Keep the tension even — uneven pulling is the #1 cause of wrinkles. When you reach the corners, fold them like wrapping a present: tuck, pleat neatly, and staple.
- Trim the excess fabric. Flip the seat over and trim the fabric to about an inch past the staple line. If the underside looks rough, a quick bead of fabric glue along the cut edge keeps it from fraying — or cover the whole underside with a square of cheap cambric fabric stapled on for a professional finish.
- Reattach the seat. Screw the finished seat back onto the chair frame and sit on it. The fabric will settle slightly over the first week, so give the seat a good compression test now — if any spot feels loose, add a staple or two. That's the beauty of no-sew: fixes take seconds.
Budget Breakdown
| Item | Cost |
|---|---|
| Upholstery fabric, 2 yards | $14 |
| Manual staple gun + staples | $12 |
| High-density foam, 1-inch | $8 |
| Polyester batting | $4 |
| Fabric glue / hem tape | $2 |
| Total | $40 |
Before & After
Before: a sturdy oak chair with a vinyl seat that was cracked, stained, and dated. The frame was rock-solid — good bones under bad upholstery, which is exactly what you want in a thrift find.
After: the same chair with a plump, smooth beige linen seat that looks professionally upholstered. The new foam is an inch thicker than the old, so it's noticeably more comfortable — and the underside is clean enough to flip the chair over at dinner parties.
The center-staple method was the breakthrough. On my first-ever chair years ago I started at one corner and worked around — and ended up with a puckered mess. Starting at the centers of opposite sides keeps the tension balanced, and it's the one technique that separates beginner results from pro-looking ones.
Tips for Your Own No-Sew Upholstery
- Choose a medium-weight fabric with no stretch. Linen, canvas, and cotton duck are ideal — they hold tension and forgive small mistakes. Avoid thin quilting cottons (they show every staple) and stretchy fabrics (they warp as you pull).
- Start with a removable seat. Dining chairs with screw-on seats are the perfect first project. Skip anything nailed together or with springs inside until you've done a few seats.
- Keep staples an inch from the edge. Staples too close to the edge split the wood; too far in and the fabric can slip. About an inch from the edge, spaced an inch or two apart, is the sweet spot.
- Corners are just gift-wrapping. Fold one side down flat, pleat the other side over it, and staple through the fold. Neat, flat folds beat complicated tucks every time.
- Save the staple gun for everything. Once you own one, it recovers headboards, footstools, bar stools, and bench cushions. The $12 gun pays for itself by the second project.
Frequently Asked Questions
- Do I really not need to sew anything?
- Correct — not for simple seat reupholstery. Staples do all the fastening, and everything is hidden on the underside of the seat. Sewing only enters the picture for projects with welted edges, cushions with zippers, or fitted slipcovers.
- What if the chair frame is wobbly?
- Fix the frame before upholstering. Tighten loose screws, and if joints are loose, disassemble them, add wood glue, clamp overnight, and re-screw. Upholstery over a rickety frame is wasted effort — the structure has to come first.
- Can I reuse the old foam to save money?
- You can if it's still firm and clean — press it and see if it springs back. But if it's flattened, crumbly, or smells, replace it. New foam is $8 and it's the difference between a chair that looks good and one that feels good too.