Board and Batten Accent Wall for Under $60
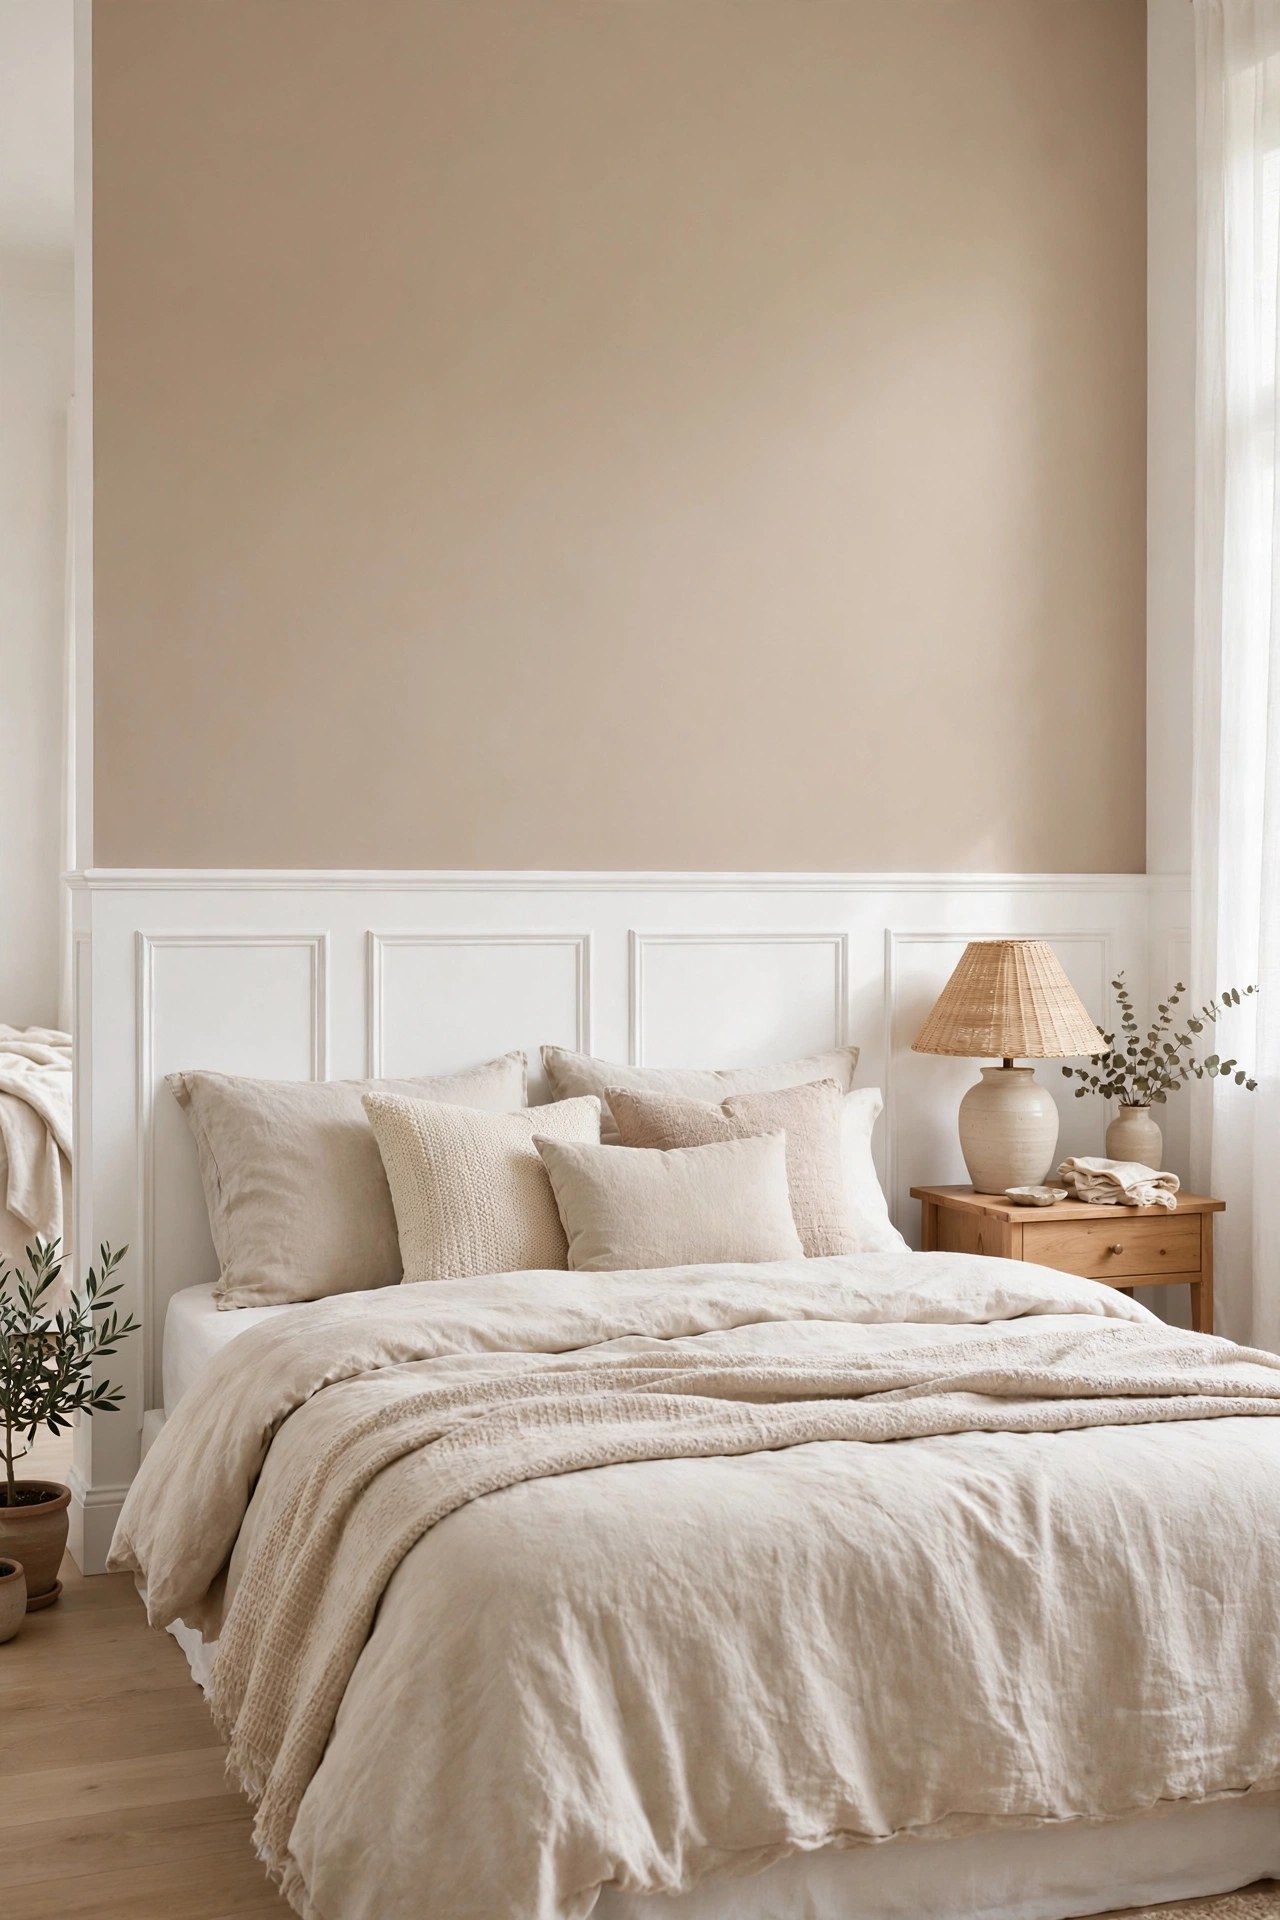
Board and batten is the cheat code of accent walls. It delivers the custom-millwork look — the kind designers charge thousands for — using nothing but cheap pine boards, a nail gun (or even a hammer), and paint. No router, no table saw, no advanced carpentry. If you can measure and cut a straight line, you can build this.
This wall is 10 feet wide and took one weekend: Saturday for the boards, Sunday for caulk and paint. Total: $58. The room went from flat and forgettable to the kind of backdrop that makes everything in front of it look better.
Materials You'll Need
- 8 pine boards, 1x3x8 ft (vertical battens) — $24
- 1 pine board, 1x4x8 ft (top ledge rail) — $6
- 1 quart white trim paint, satin — $14
- Paintable caulk, 1 tube — $5
- Wood filler — $5
- 1-1/4" brad nails — $4
- Miter saw or hand saw, level, stud finder, nail gun or hammer — on hand / $0
- Painter's tape, drop cloth — on hand / $0
Step-by-Step Instructions
- Plan the layout. Decide your batten spacing — 16 inches on center is classic and divides a 10-foot wall neatly. Mark stud locations with painter's tape; every batten should ideally hit a stud, or at least the top rail must.
- Cut your boards. Measure the wall height and cut the 1x3 battens to length (minus a hair for the top rail). Cut the 1x4 top rail to the full wall width. Sand the cut ends lightly — rough ends drink paint unevenly.
- Attach the top rail. Level the 1x4 across the top of your planned grid (about two-thirds up the wall, or wherever your design sits) and nail it into every stud. This rail carries the visual weight, so get it dead level.
- Nail up the battens. Starting from the center and working outward, nail each vertical batten into studs where possible, two nails top and bottom minimum. Keep a consistent gap — use a scrap block as a spacer so you never have to measure twice.
- Fill and caulk. Fill every nail hole with wood filler and let dry, then sand smooth. Caulk along both sides of every batten and the top rail where they meet the wall. Caulk is what makes separate boards read as one built-in piece.
- Paint two coats. Cut in around each batten with a brush, then roll the flat faces. Satin trim paint gives that subtle sheen that screams custom millwork. Two thin coats beat one thick coat every time.
- Touch up and style. Once dry, pull the tape, touch up any wall paint nicks, and style the room. The wall is now the art — keep furniture and decor simple so it can shine.
Budget Breakdown
| Item | Cost |
|---|---|
| Pine 1x3x8 boards (8) | $24 |
| Pine 1x4x8 board (1) | $6 |
| White trim paint, satin (quart) | $14 |
| Paintable caulk | $5 |
| Wood filler | $5 |
| Brad nails | $4 |
| Saw, level, stud finder, nail gun | $0 (on hand) |
| Tape, drop cloth | $0 (on hand) |
| Total | $58 |
Before & After
Before: a long, flat bedroom wall painted the same beige as every other wall in the house. The bed floated against it with nothing to anchor it. The room had nice furniture and good light, but zero architecture — it felt like a nice hotel room, not a home.
After: crisp white battens march across the wall in perfect rhythm, giving the room instant structure and shadow lines that change through the day. The bed finally has a backdrop worthy of it. It looks like the house was built this way — which is exactly the point.
The caulk step is the unsung hero. Before caulking, it looked like boards nailed to a wall. After caulking and paint, it looks like millwork. Ten dollars of caulk and filler did more for the final result than the $30 of lumber.
Tips for Your Own Accent Wall
- Buy straight boards. Sight down each board at the store like a rifle — reject anything twisted or bowed. Crooked boards telegraph through paint.
- Paint the wall first in your final color before attaching battens. Touch-ups after are ten times easier than cutting in around every board.
- Use a spacer block cut to your exact gap width. Consistent spacing is what separates professional-looking work from DIY-looking work.
- Nail into studs wherever possible. Battens nailed only to drywall can loosen over time, especially on walls that get bumped by furniture.
- Don't skip the top rail. A finished top edge (the 1x4 ledge) is what makes the whole thing look intentional rather than improvised.
Frequently Asked Questions
- Do I need a nail gun, or will a hammer work?
- A hammer and finish nails work fine — that's how it was done for a century. A brad nailer is faster and leaves smaller holes, and you can rent one for about $30/day if you have several walls planned. For one wall, the hammer is perfectly fine.
- Can I do this on textured walls?
- Yes, with extra caulk. Heavy orange-peel texture leaves small gaps behind the battens — run a generous caulk bead along each edge and smooth it well. The caulk bridges the texture and the result looks clean.
- Is board and batten renter-friendly?
- Not really — it involves dozens of nail holes and caulk. Some landlords approve it as an "upgrade," but get written permission first. For renters, a painted arch or color-blocked accent wall gives similar impact with zero holes.