DIY Photo Ledge: Picture Shelf for $26
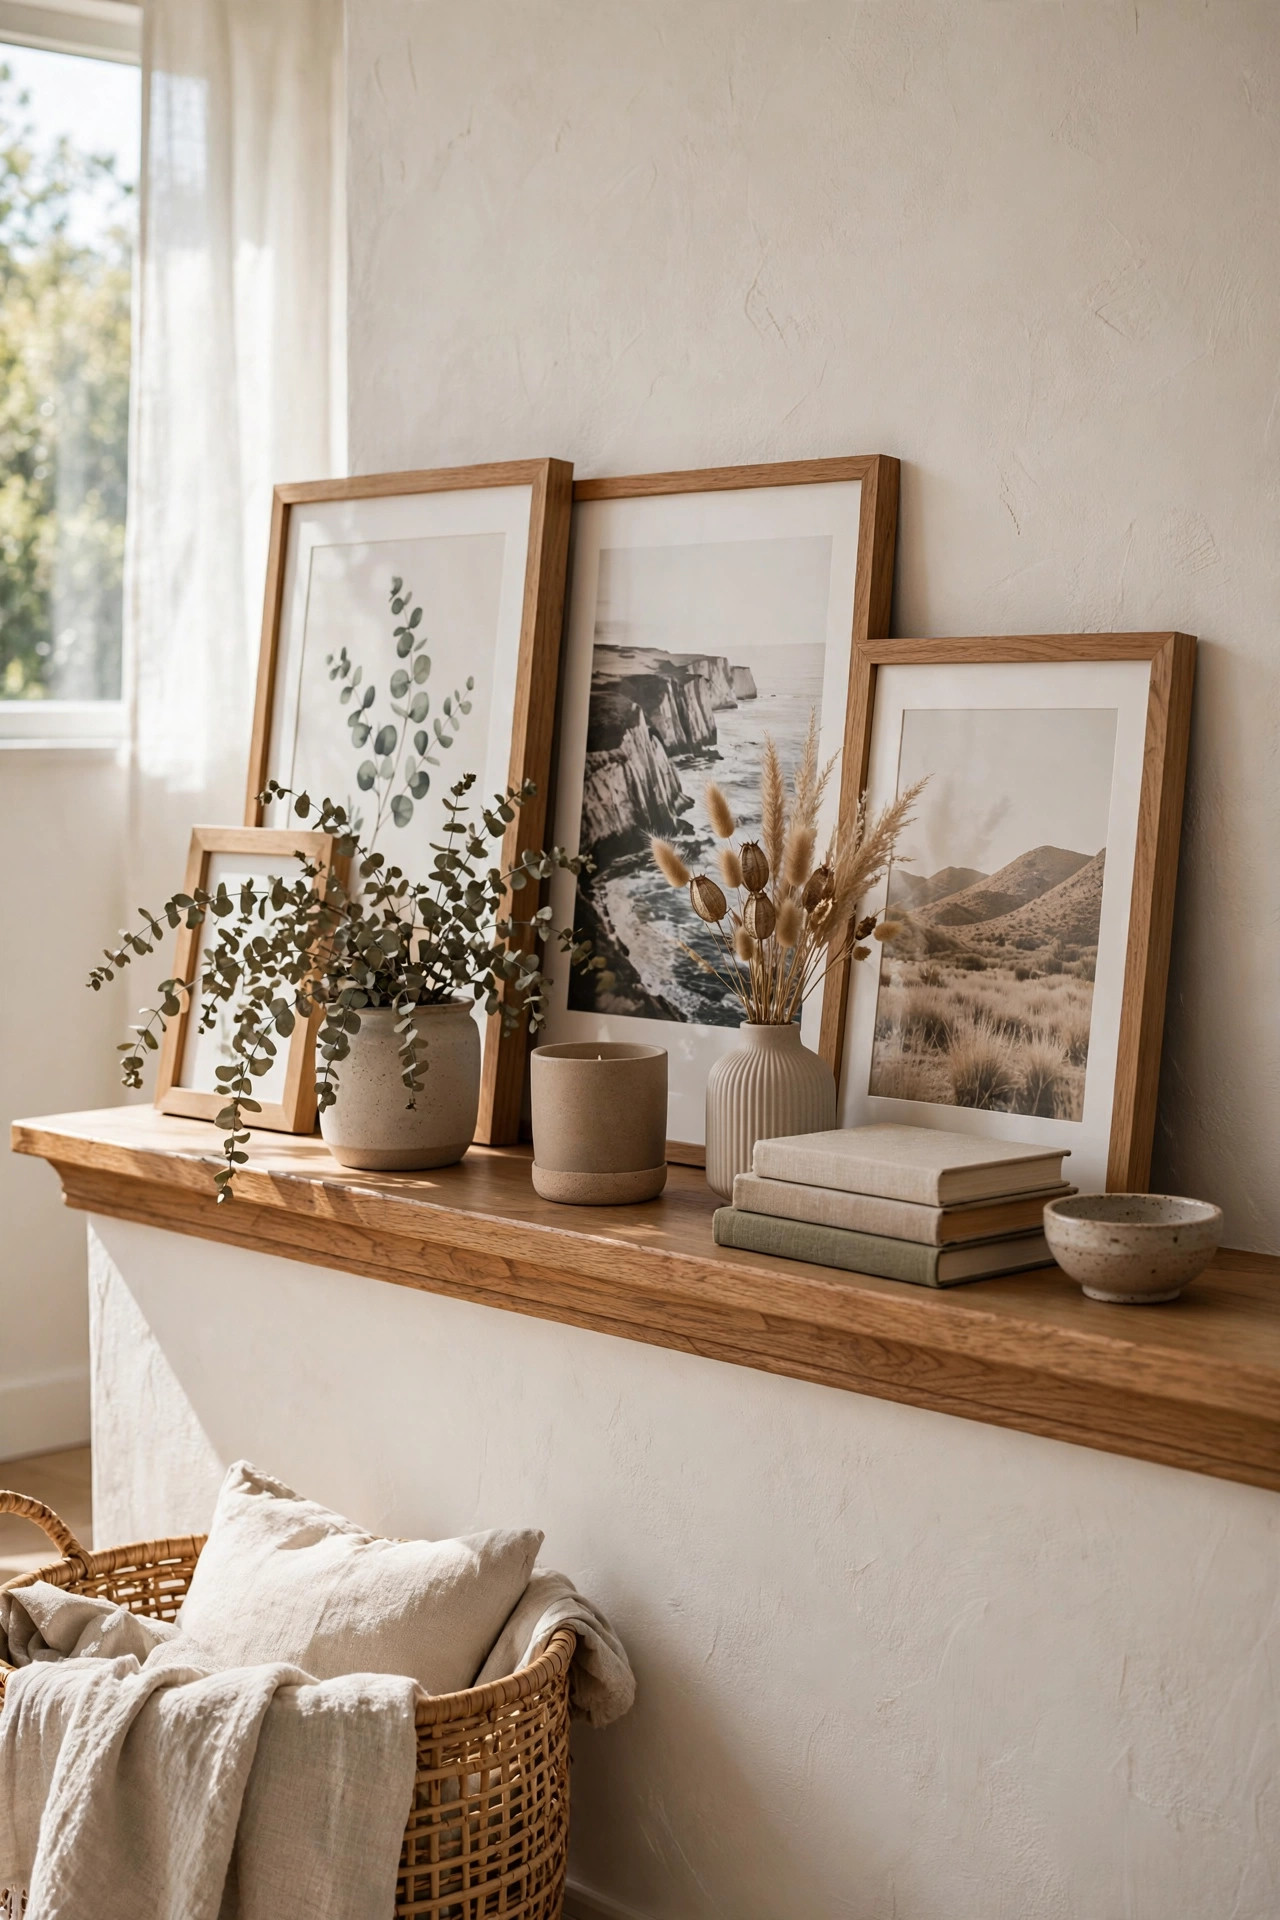
There is a specific kind of blank wall that haunts renters and new homeowners alike: the long hallway, the empty stretch above the sofa, the wall that needs something but won't take a commitment. A full gallery wall means drilling a dozen holes. One big art print costs more than a week's groceries. A photo ledge is the answer — a slim shelf with a front lip that holds framed photos, art prints, and small objects, all without putting a single nail in the artwork itself.
This DIY photo ledge cost $26 in materials: one six-foot pine board, two L-brackets, screws and anchors, a $5 pot of stain, and sandpaper. It took about two hours of hands-on time plus drying. The best part isn't the price, though — it's that the display is endlessly rearrangeable. Swap photos seasonally, rotate in new art, add a small plant — and the wall never gets a new hole.
Materials You'll Need
- 1×4 pine board, 6 feet long — $8
- 2 metal L-brackets or a wood ledger strip — $6
- Wood screws + wall anchors — $4
- Wood stain, sample pot or quart — $5
- Sandpaper + polyurethane finish — $3
Step-by-Step Instructions
- Pick your spot and measure twice. A photo ledge wants a long, unobstructed wall — over a sofa, in a hallway, above a desk. Six feet is the sweet spot: long enough to feel intentional, short enough to find boards at the hardware store. Hold a tape measure at about eye level (57–60 inches from the floor is the gallery standard) and mark the start and end with painter's tape. Step back and check it from across the room before you commit to anything.
- Get the board cut to length. Buy a 1×4 pine board in a 6-foot length — most hardware stores will make one or two cuts for free, so ask them to trim it to your exact measurement. Grab a 1×2 strip while you're there: glued and pinned along the front edge, it becomes the lip that keeps frames from sliding off.
- Sand it smooth. Pine is soft and cheap, which means rough patches and the occasional splinter. Start with 80-grit to knock down the rough spots, then finish with 120-grit for a smooth surface. Sand with the grain, wipe the dust off with a damp cloth, and run your hand along the board — if it snags, sand a little more. This is the step people skip, and it's the difference between a shelf that looks like $26 and one that looks like $260.
- Stain with the wipe-on, wipe-off method. Brush the stain on generously, let it sit for two or three minutes, then wipe it off with a clean rag, always following the grain. Wiping off is what gives you control — more wiping means lighter color. Test on the back of the board first. One sample pot is plenty for a single ledge, and the color deepens slightly as it dries.
- Seal it with a light finish. Once the stain is dry to the touch (usually 4–6 hours), brush on one thin coat of water-based polyurethane or rub in a coat of furniture wax. The sealant protects the wood from fingerprints and dusting and gives it that finished, furniture-grade feel. Let it cure overnight if you can stand the wait.
- Mount the brackets and hang the ledge. Find the wall studs with a stud finder — a six-foot ledge loaded with frames is heavy enough to matter. Where you hit studs, drive 2.5-inch wood screws straight in; everywhere else, use heavy-duty wall anchors rated for 50+ pounds. Set the brackets level (check with a real level, not your eye), rest the board on them, and drive short screws up through the bracket into the board from below.
- Style it like a designer. Start with your tallest frame in the middle or slightly off-center, then layer smaller frames in front of and beside it. Overlap frames so they lean against each other — the ledge look is casual, not regimented. Add one small object (a candle, a tiny plant, a stack of books) for every three or four frames to break up all those rectangles. Stand back, squint, and shuffle things around until it feels balanced.
Budget Breakdown
| Item | Cost |
|---|---|
| 1×4 pine board, 6 ft | $8 |
| 2 L-brackets or ledger strip | $6 |
| Wood screws + wall anchors | $4 |
| Wood stain, sample pot | $5 |
| Sandpaper + polyurethane | $3 |
| Total | $26 |
Before & After
Before: the hallway wall — six feet of blank, landlord-white paint between the front door and the living room. We had a box of framed photos in the closet and zero holes in the wall, because every gallery wall tutorial seemed to end with patching drywall on move-out day.
After: a six-foot stained-pine ledge holding nine frames layered at different depths, plus a small pothos and a candle. It looks like the curated shelf of a much more organized person — and every frame is one we already owned.
The real win is the flexibility. Holiday photos go up in December, the summer hiking shots come out in June, and the wall never gets a new hole. Guests always ask where the shelf came from — and the look on their faces when we say we built it in an afternoon for $26 is worth more than the shelf itself.
Tips for Your Own Photo Ledge
- Always add the front lip. A ledge without a lip is just a shelf, and frames will creep forward and fall. A simple 1×2 strip along the front edge is the whole trick — wood glue plus a few brads is enough to hold it.
- Hit the studs. Frames add up fast because glass is heavy. Two stud connections plus anchors everywhere else is the minimum. A falling ledge isn't a $26 problem — it's a broken-frames-and-drywall problem.
- Stain the back too. The underside of a floating ledge is visible from across the room. A quick coat on the back and bottom makes it look finished from every angle.
- Leave breathing room. A ledge crammed edge-to-edge with frames looks cluttered. Aim to fill about 70% of the length and leave a gap at each end — negative space is a design element.
- Stack two for a gallery effect. One six-foot ledge is great; two ledges mounted 12–18 inches apart turns the whole wall into an art installation. It doubles the budget to $52 and still looks like a steal.
Frequently Asked Questions
- Will a photo ledge damage the wall?
- Barely. You're making two to four bracket holes instead of a dozen nail holes for a gallery wall. Use wall anchors in drywall, and patching them at move-out is a five-minute job with spackle and a dab of paint.
- How much weight can a $26 ledge hold?
- With brackets screwed into studs, a 1×4 pine ledge easily holds 20–30 pounds of frames — that's a dozen medium frames. If you can't find studs, use toggle bolts rated for 50+ pounds each and keep the heaviest frames near the brackets.
- Can I build this without a saw?
- Yes. Have the hardware store cut the board to length (most do it free) and buy the 1×2 lip pre-cut too. The only tools you truly need are a drill, a level, and sandpaper — everything else is patience.