DIY Throw Pillows Under $30
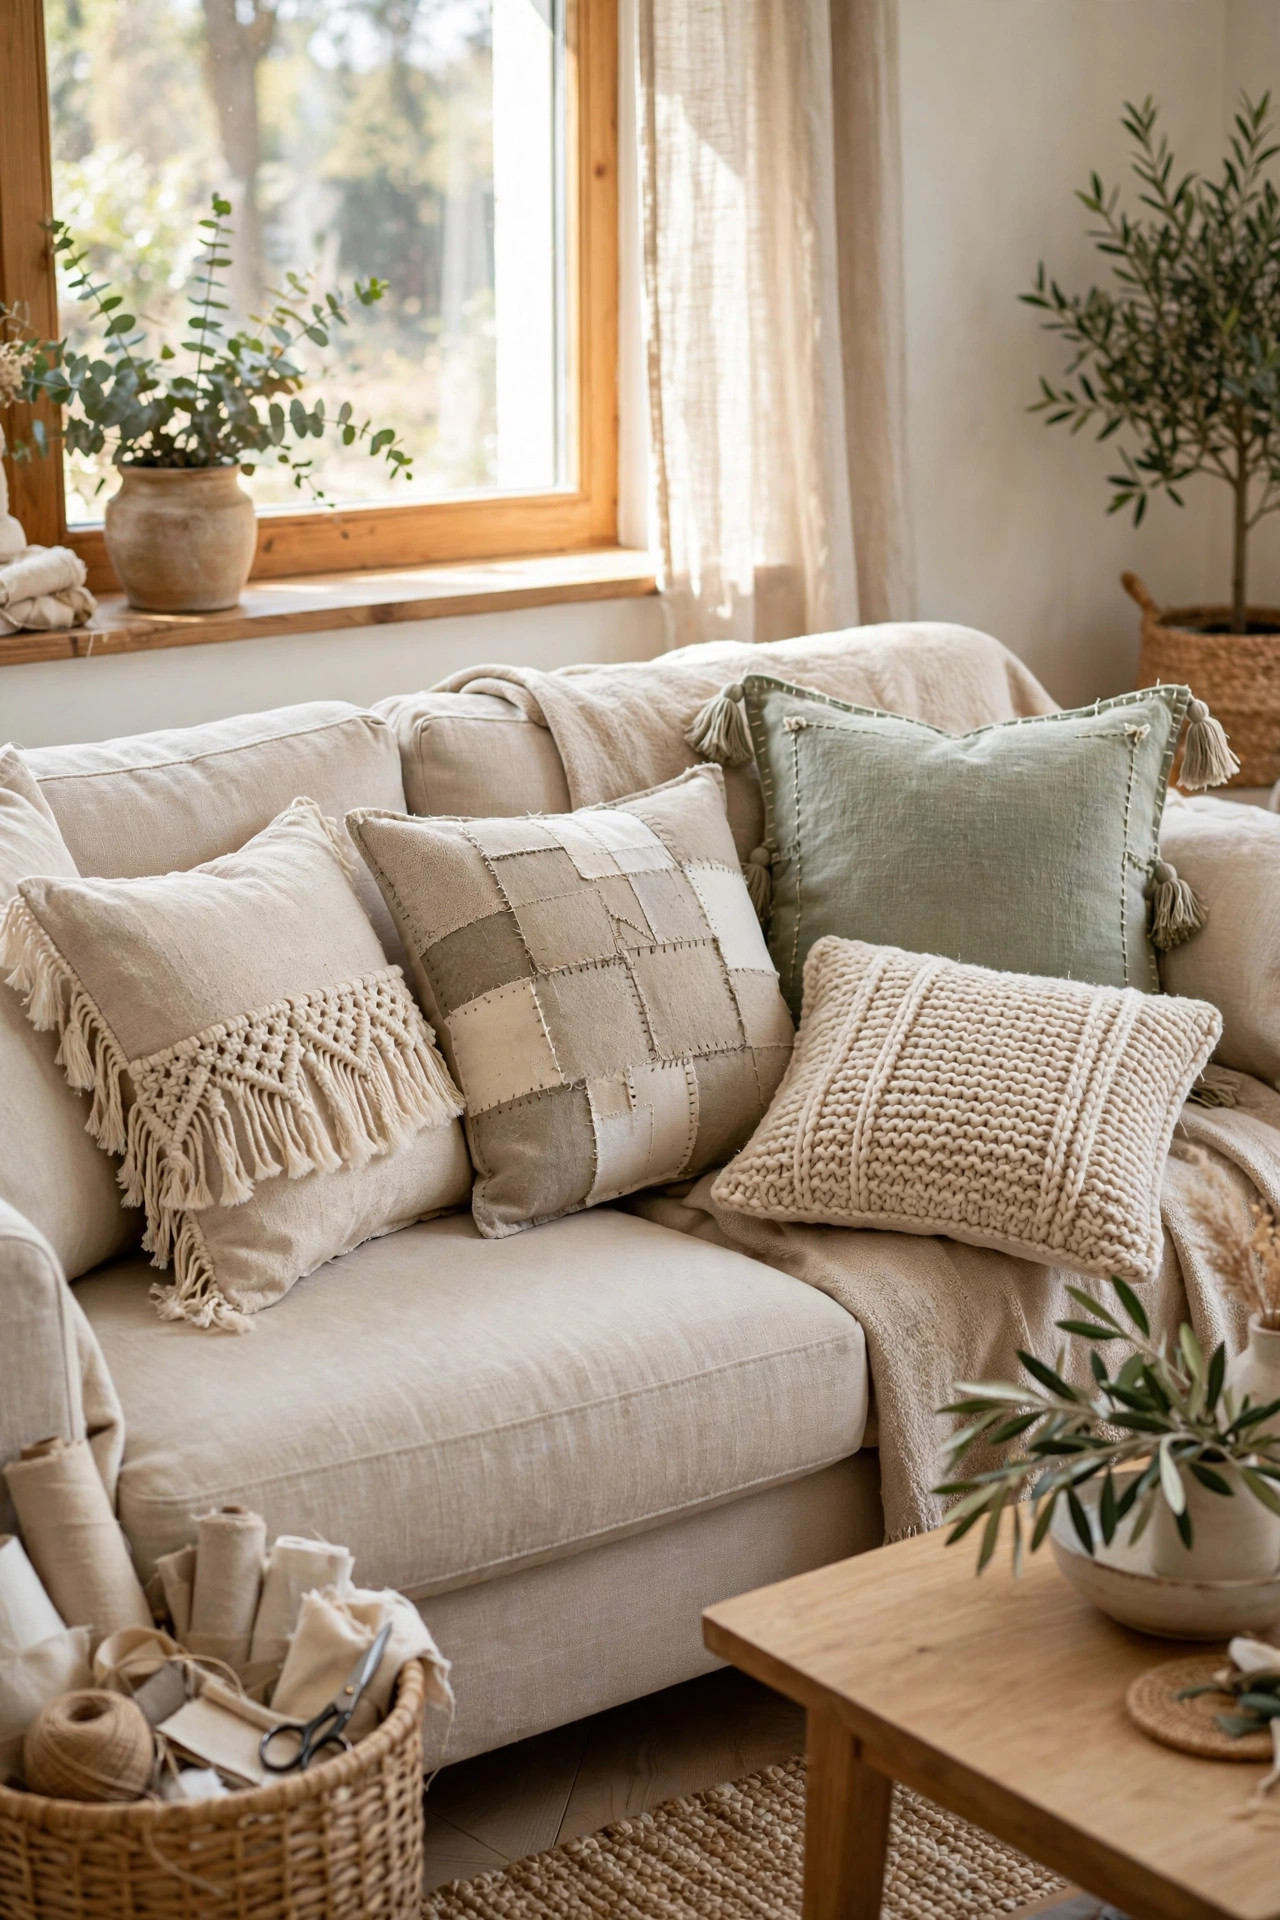
Throw pillows are the fastest room refresh in existence — and one of the most overpriced. A single decorative pillow at a home store runs $25 to $40, which means restyling a sofa can cost more than the sofa's slipcover. The math is maddening because a pillow is, at its core, a fabric envelope around a squishy insert. The envelope style cover we'll make here needs no zipper, no pattern, and barely any sewing skill — it's three rectangles and four straight seams.
Four pillows for $30: two packs of inserts, thrifted and remnant fabric, and basic notions. The trick to making them look expensive isn't the sewing — it's the fabric mix and the styling. One solid, one pattern, one texture, one wildcard: that's the designer formula, and it works at any price point. Choose fabrics you love in one color family and the sofa styles itself.
Materials You'll Need
- 4 pillow inserts, 18-inch (two 2-packs) — $16
- Thrifted fabric + remnant yardage — $9
- Thread, buttons, and fusible hem tape — $5
Step-by-Step Instructions
- Source fabric with a plan. Hit the thrift store's linen and bedding section: duvet covers, tablecloths, and curtains are huge pieces of quality fabric for a few dollars each. Aim for the designer mix — one solid (a natural linen or canvas), one pattern (a stripe, block print, or small floral), one texture (a nubby weave or velvet), and one wildcard. Keep everything in one color family so the mix feels curated, not chaotic. Wash and press everything before cutting.
- Cut the envelope pieces. For an 18-inch insert, cut one front square at 19 × 19 inches (the extra inch gives a plump, tailored fit — pros size covers one inch smaller than the insert). Then cut two back pieces, each 19 inches wide by 13 inches tall. These overlap in the middle to form the envelope opening — no zipper, no buttons required, and the cover stays removable for washing.
- Hem the envelope edges. Fold under a half-inch hem along one long edge of each back piece and press it, then stitch or fuse it with hem tape. These are the only finished edges in the whole project, and they're the ones that show when you slide the insert in and out. A clean hem here is what separates "handmade" from "homemade."
- Assemble the envelope. Lay the front piece face-up. Place the two back pieces face-down on top, overlapping in the center — raw edges aligned with the front piece's raw edges all around. Pin or clip the layers together. This sandwich looks wrong and feels wrong the first time; trust the process, because turning it right-side out is the magic step.
- Sew (or fuse) the perimeter. Stitch a half-inch seam around all four sides — straight lines, that's it. No sewing machine? Fuse the seam with hem tape instead, pressing firmly in sections. Clip the corners diagonally (without cutting the stitching) so they turn crisply, then turn the cover right-side out through the envelope opening and poke the corners out with a chopstick.
- Stuff, fluff, and karate-chop. Fold the insert like a taco, slide it through the envelope opening, and let it expand. Fluff it by pulling opposite corners, then give the top center the classic karate chop — a firm downward press that dents the top and makes the corners pop. This single move is responsible for about half of the "expensive pillow" look; do not skip it.
- Style the sofa in layers. Arrange back to front, largest to smallest: two 20-inch solids at the back corners, two 18-inch patterns in front of them, and one lumbar or textured accent centered. Odd numbers, mixed sizes, and that one-inch-smaller cover rule keep everything looking plump. Step back and check the color balance — no two identical fabrics should touch each other.
Budget Breakdown
| Item | Cost |
|---|---|
| 4 pillow inserts, 18-inch (two 2-packs) | $16 |
| Thrifted fabric + remnant yardage | $9 |
| Thread, buttons, and fusible hem tape | $5 |
| Total | $30 |
Before & After
Before: a perfectly good sofa wearing the two flat, sad pillows it came with — deflated, matchy, and doing nothing for the room. The living room felt 90% finished, and the missing 10% was entirely the pillows' fault. Every inspiration photo had that layered, plump, inviting look; this sofa had… two pancakes.
After: five pillows (we made four and kept one good old one) in layered neutrals — a natural linen solid, a muted stripe, a nubby textured weave, and a small-scale block print. The sofa looks deeper, more expensive, and dramatically more comfortable. Total time: one afternoon, most of it spent deciding on fabric at the thrift store.
The envelope cover was the revelation. No zippers to buy or install, no pattern to follow, and the covers pop off for washing in seconds. We made the first cover in about forty minutes including the learning curve; the fourth took fifteen. If you can sew a straight line — or press an iron — you can make these.
Tips for Your Own Throw Pillows
- Size the cover one inch smaller than the insert. An 18-inch insert in a 17-inch cover looks plump and designer; an 18-inch insert in an 18-inch cover looks flat and sad. This single rule matters more than fabric choice.
- Mix scale, not just pattern. If your patterned fabric has a large print, pair it with a small-scale pattern or a solid — two large prints fight each other. One bold, one quiet, one texture: that's the whole formula.
- Down-alternative inserts are worth it. The cheapest polyfill inserts go flat in a month. A mid-range down-alternative insert holds the karate chop and springs back — and at $8 each in a 2-pack, they're still firmly budget.
- Thrift the fabric, not the pillows. Used pillows are a hygiene gamble, but used fabric is a goldmine. Duvet covers and curtains give you yards of quality material for the price of a coffee — just wash hot before cutting.
- Change covers seasonally, keep inserts. The inserts are the investment; the covers are the wardrobe. Make a second set of covers in warmer tones and you can redecorate twice a year for the cost of thrifted fabric alone.
Frequently Asked Questions
- Can I really make these without a sewing machine?
- Yes — fusible hem tape handles the perimeter seam and the envelope hems just fine for decorative pillows that get normal use. Press it thoroughly in sections and let it cool before moving the fabric. A machine gives a more durable seam for pillows that get daily roughhousing, but the no-sew version holds up well.
- Why do my pillows look flat compared to store ones?
- Almost always one of two things: the cover is the same size as the insert instead of an inch smaller, or the insert is cheap polyfill that's already compressed. Fix the sizing, upgrade to down-alternative inserts, and finish with the karate chop — those three changes transform flat into plump.
- How many pillows should go on a sofa?
- For a standard three-seat sofa, five is the sweet spot: two larger at the back corners, two mediums in front, one lumbar or accent centered. Odd numbers look styled; even numbers look symmetrical and stiff. A loveseat takes three, and a sectional can handle seven across the corner.