Rental Kitchen Upgrades (No Drilling): $96
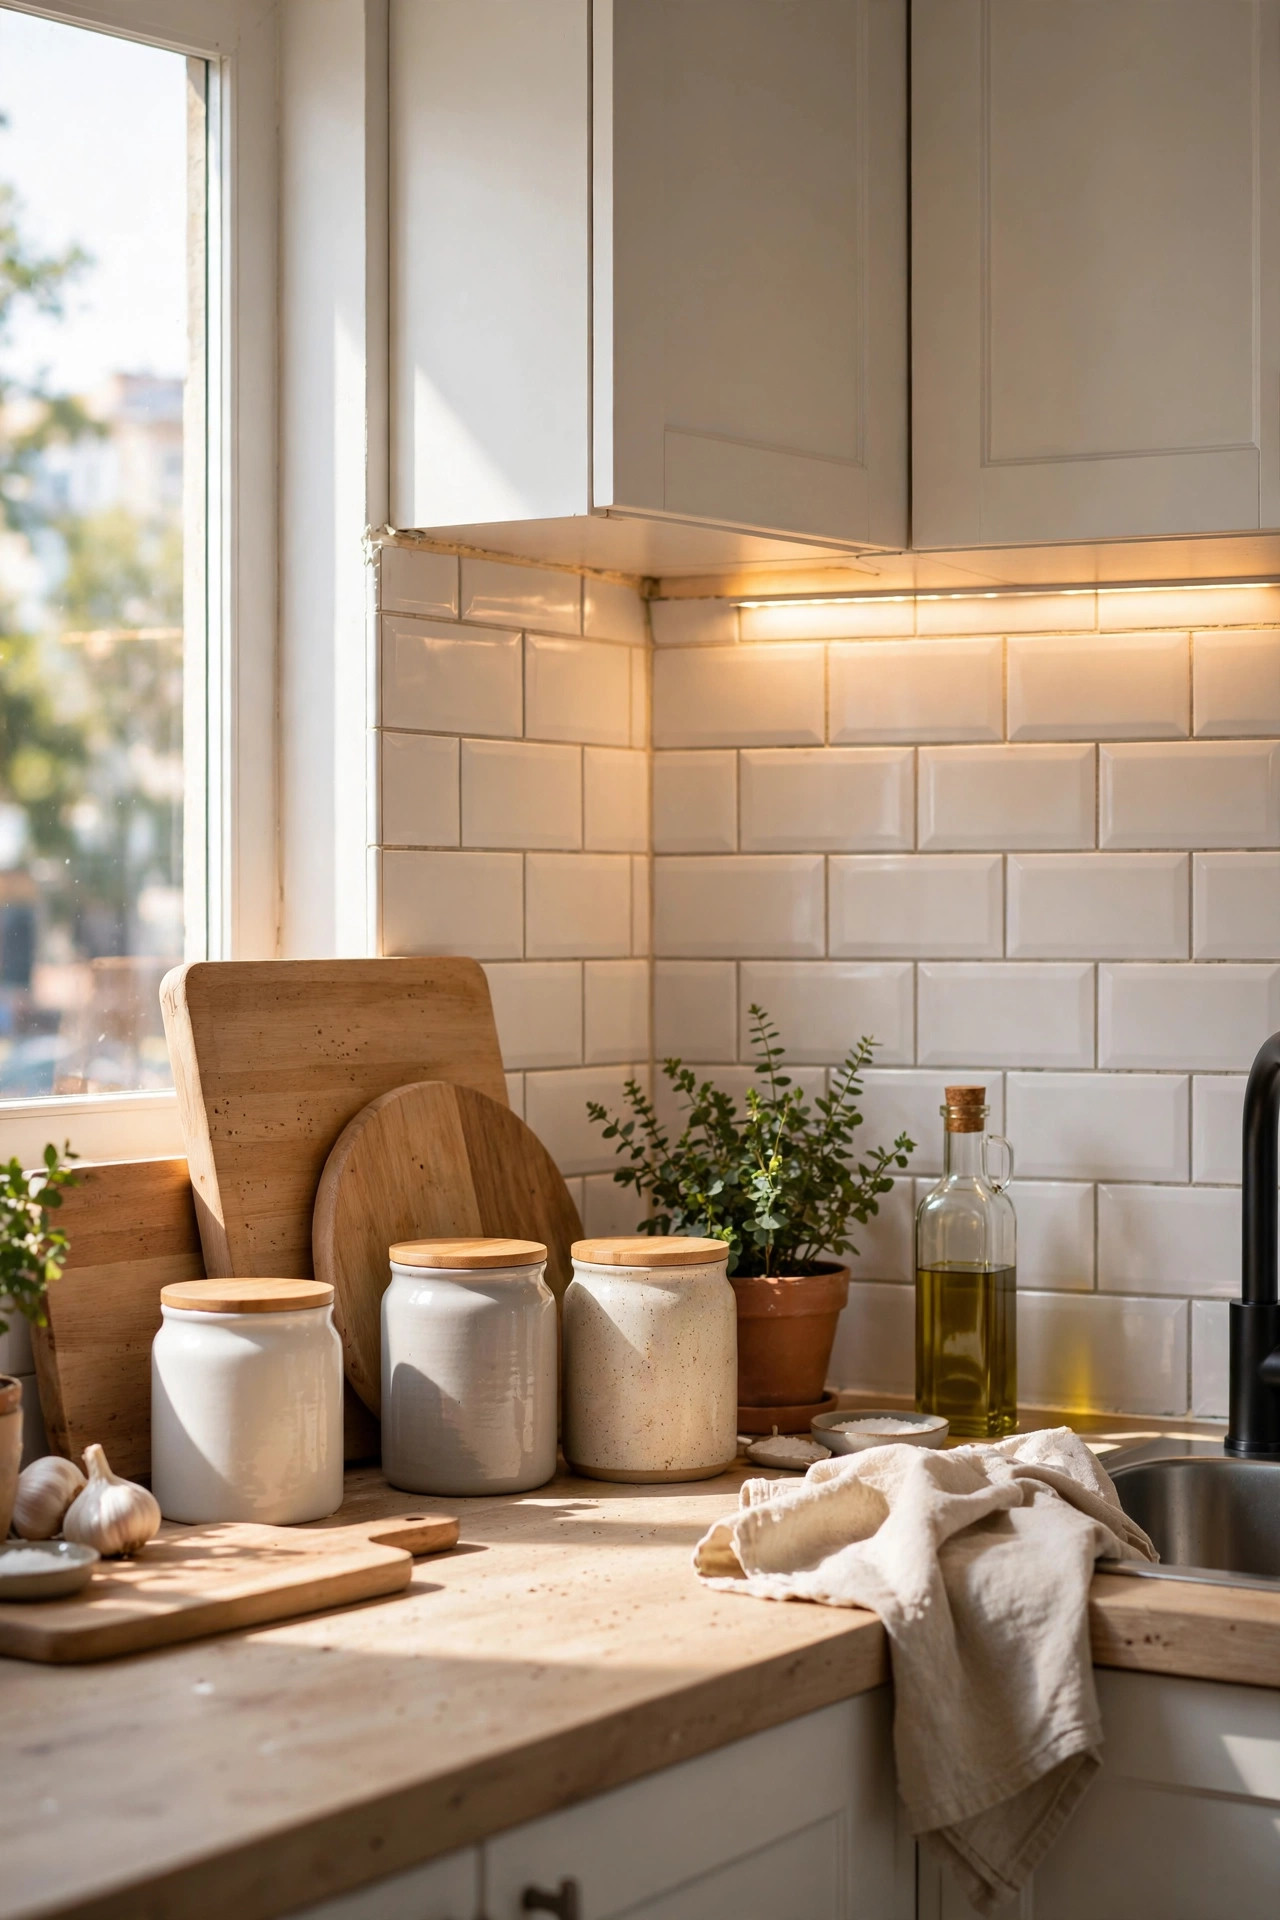
Renters get the worst kitchens: flat white cabinets with no handles, a countertop that has seen every tenant since 2009, and a backsplash that's just painted drywall collecting grease behind the stove. And the lease says no drilling, no painting, no "modifications" — which most landlords define as anything they can see. So renters do nothing, and cook in a kitchen they hate, for years.
But "no drilling" is not the same as "no changes." This $96 upgrade package transforms a rental kitchen with five fully reversible changes: a peel-and-stick backsplash, motion-sensor under-cabinet lights, adhesive cabinet handles, countertop film, and a tension-rod curtain under the sink. Every single item peels, unclips, or slides off at move-out — nothing drilled, nothing glued permanently, nothing for the landlord to object to.
Materials You'll Need
- Peel-and-stick backsplash tile sheets — $28
- Rechargeable under-cabinet LED lights (3-pack) — $22
- Removable adhesive cabinet handles — $18
- Peel-and-stick countertop roll — $20
- Tension rod + café curtain for under-sink — $8
Step-by-Step Instructions
- Plan, measure, and photograph everything first. Measure the backsplash area and the countertop so you buy enough film and tile — running out mid-project is how renters end up with mismatched batches. Then photograph the kitchen exactly as you found it: every wall, the countertop, the cabinet fronts. These photos are your move-out insurance; keep them in a cloud folder with the date in the filename.
- Apply the peel-and-stick backsplash. Clean the wall behind the stove and sink with a degreaser and let it dry completely — grease is the number-one reason peel-and-stick fails. Start at the bottom center and work outward, pressing each sheet firmly and trimming around outlets with a utility knife. Choose a tile pattern that reads from a distance (subway tile, hexagon) so seams disappear into the design. One Saturday afternoon covers a standard rental backsplash wall.
- Mount the under-cabinet LED lights. This is the upgrade with the most dramatic effect per dollar. Rechargeable LED bars stick to the underside of wall cabinets with built-in adhesive or magnetic mounts — no wiring, no electrician, no holes. Motion-sensor models turn on when your hands go under the cabinet and off when you leave. Instantly your counters go from cave-dark to bright, and food prep becomes actually pleasant.
- Add removable adhesive cabinet handles. Handle-less rental cabinets are the cheapest possible look, and handles are the cheapest possible fix. Adhesive cabinet pulls use removable mounting strips — they grip firmly enough for daily use and come off cleanly with a slow pull of the tab. Place them consistently (same position on every door) and the whole kitchen reads like a custom install instead of a rental unit.
- Cover the countertops with peel-and-stick film. Same technique as the backsplash: clean, dry, lay slowly, squeegee bubbles out ahead of you. A marble-look or butcher-block-look film over stained laminate changes the entire kitchen's color story. Seal the back edge against the backsplash and the front edge with a thin line of clear caulk so water can't creep underneath. Cut around the sink carefully with a fresh blade.
- Hang a tension-rod curtain under the sink. Under-sink cabinets are where plumbing and cleaning supplies live, and rental ones are never pretty. A spring tension rod (no screws, no brackets) plus a short café curtain hides the chaos behind washable fabric. It also gives you a finished look for open shelving or utility areas anywhere in the kitchen.
- Document the finished kitchen and keep the originals. Take "after" photos, and store anything you replaced — the original cabinet-less look needs nothing stored, but keep the film backing and any instructions. When you move out, everything reverses in about two hours: peel the film off slowly with a hair dryer on warm to soften the adhesive, pull the adhesive strips per their instructions, and the kitchen goes back to exactly how your day-one photos show it.
Budget Breakdown
| Item | Cost |
|---|---|
| Peel-and-stick backsplash tile sheets | $28 |
| Rechargeable under-cabinet LED lights (3-pack) | $22 |
| Removable adhesive cabinet handles | $18 |
| Peel-and-stick countertop roll | $20 |
| Tension rod + café curtain | $8 |
| Total | $96 |
Before & After
Before: flat handle-less white cabinets, a laminate counter with knife scars, bare painted drywall behind the stove slowly absorbing grease, and a cave-dark counter under the wall cabinets. The under-sink doors wouldn't even close on the cleaning supplies.
After: white subway-look backsplash, warm light washing over a marble-look counter, consistent black handles on every cabinet, and a linen curtain hiding the under-sink chaos. Guests assume the kitchen was remodeled; the landlord sees nothing permanent and the lease stays intact.
The under-cabinet lights were the surprise star. Everything else is visual, but the lighting changes how the kitchen functions — chopping, reading recipes, finding the right spice jar. For $22 and zero wiring, it's the single highest-impact rental upgrade I've ever done.
Tips for Your Own Rental Kitchen
- Degrease before anything peel-and-stick. Kitchen walls are coated in invisible cooking grease. Adhesive sticks to grease, not to the wall — scrub with a degreaser and let it dry, or your backsplash will peel by month three.
- Test removal in a hidden spot first. Apply a small piece of film inside a cabinet, leave it a week, then remove it. If it comes off clean there, it'll come off clean everywhere.
- Photograph before you touch anything. Dated move-in photos protect your deposit. Photograph again at move-out, in the same spots, to prove everything reversed cleanly.
- Keep handles consistent. Same style, same finish, same position on every door and drawer. Consistency is what separates "nice kitchen" from "someone stuck handles on a rental."
- Recharge the lights on a schedule. USB-rechargeable bars last a few weeks per charge. Plug them in on the first of the month like a smoke-detector battery check and you'll never come home to a dark counter.
Frequently Asked Questions
- Will peel-and-stick damage the walls when I remove it?
- On sound, painted drywall it removes cleanly if you pull slowly at a low angle — warming the adhesive with a hair dryer on low helps. Test a hidden spot first. The risk is on fresh, unprimed paint or damaged drywall, where any adhesive can lift the surface.
- Can my landlord object to these upgrades?
- These are all non-permanent and fully reversible, which is the standard lease test. Still, read your lease and ask in writing if anything is ambiguous — a quick email saying "temporary, removable, no drilling" has never gotten a no in my experience.
- Do adhesive cabinet handles actually hold up to daily use?
- Yes, on clean, flat cabinet fronts. Wipe the mounting spot with rubbing alcohol first, press firmly for 30 seconds, and wait 24 hours before heavy use. They're rated for daily pulling; just don't hang grocery bags from them.